Tuesday, May 12, 2020

Agate Admonition & Mon Karren vs Dual Onagers

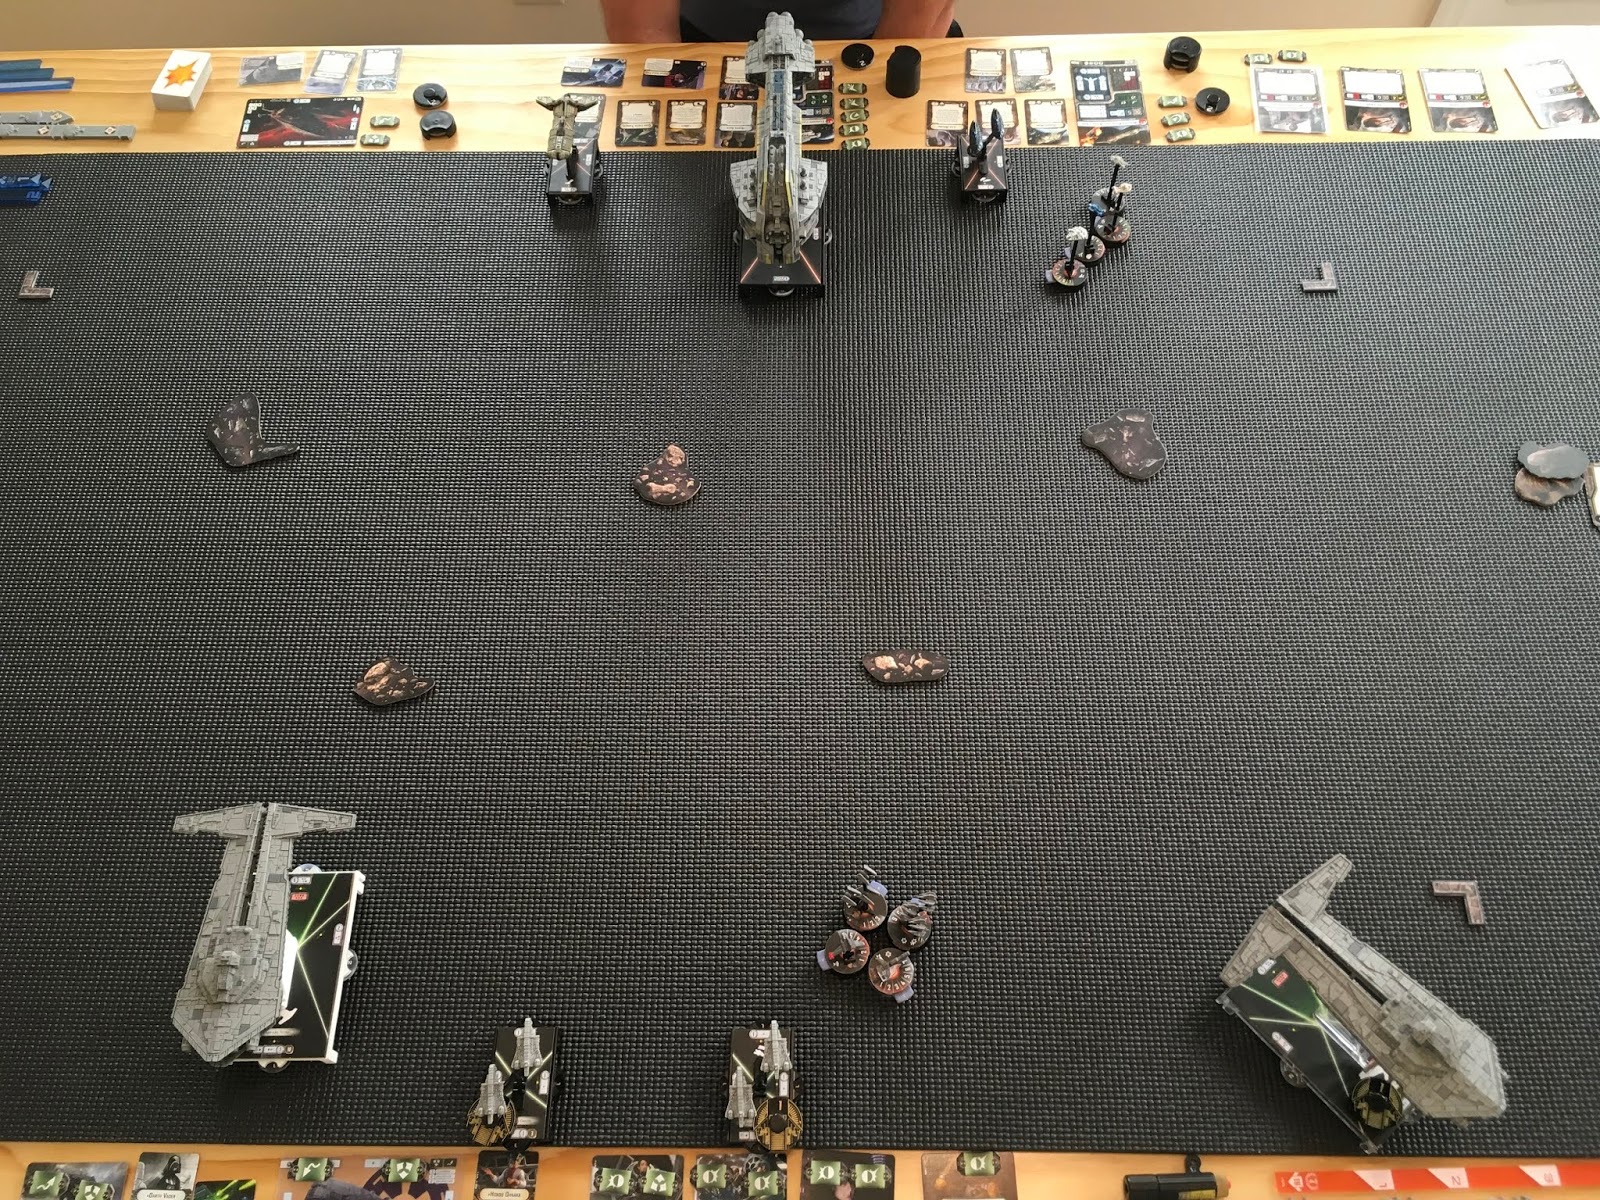
For this game, I brought Agate on board Admonition, Mon Karren, a pair of Comms Net GR75s, and a squadron component consisting of Hera, Lando, 2 X-Wings, and Jan. On the other side, Andy brought the dreaded dual Onagers with a pair of Gozantis, Dengar, Bossk, and two Decimators. He had the bid, took second, and I picked his Rift Ambush. Here is the opening of round 1 before the Ozzel/Cataclysm (on left) move:


In the first round I did what I could to position Mon Karren, but thanks to the Rift Assault move even a speed 1 maneuver would have put me in black dice range of Cataclysm. I settled on a speed 3 move to start my move around the flank. I was already kicking myself for not bringing Engine Techs. When Cataclysm activated, it managed to score three accuracies plus a Comms Noise critical that allowed Andy to change my Nav Command to a squadron command. That was a huge hit. Here is the opening of round 2:


In the second round, Mon Karren scored a decent long-range hit on the Onager and then dodged the Cataclysm ignition arc. If I hadn’t gotten that Comms Noise critical or if I had Hondo to pass an early Nav token, I would have been able to avoid both ignition arcs. Alas, the flagship scored another very strong hit with two accuracies to knock out my braces. By the squadron phase, Mon Karren was down to a single hull point. Dengar was able to free up a Decimator that finished Mon Karren. Here is the opening of round 3:


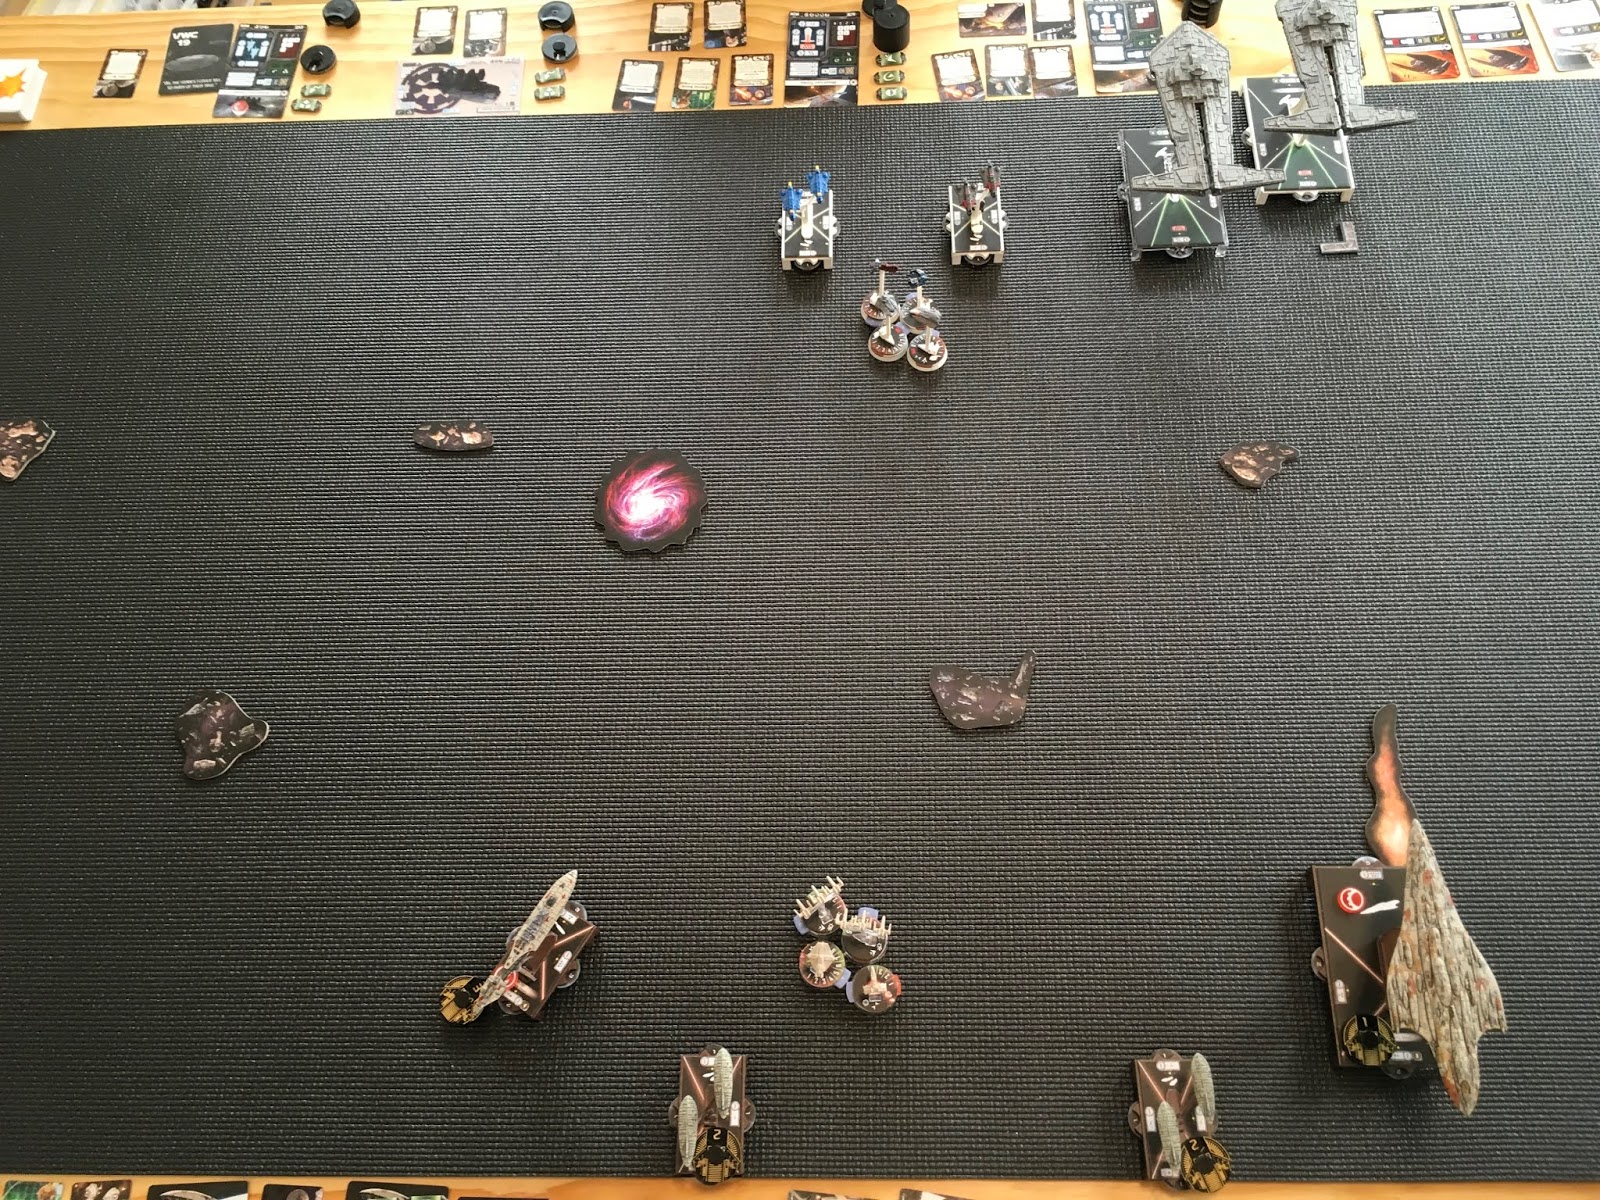
In the third round, Admonition whiffed badly with its side arc against Cataclysm. I shifted fire to the nearby Gozanti and destroyed it. My squadrons achieved dominance, but Lando was down to a single hull. We calculated that there was little chance of anything else being destroyed except for Andy’s remaining Decimator. This one was a 6-5 win for Imperials. Here is the final board state:


This game really showed the necessity of placing Agate on Mon Karren. Both ignition shots procured multiple accuracies. It simply crumpled under fire of that magnitude. Admonition on the other hand was excessively resilient given its threat (which was paltry). I simply wanted to test out how Agate worked on an MC30. It also demonstrated that Engine Techs are far superior to Nav Teams when facing Onagers. One neat technique that worked well was to intentionally maneuver a GR75 into the ignition arc to prevent the use of the standard front arc shot of an Onager. Here is my complete list:

[ flagship ] MC30c Torpedo Frigate (63 points)
-  Kyrsta Agate (com)  ( 20  points) 
-  Admonition  ( 8  points) 
-  Walex Blissex  ( 5  points) 
-  Ordnance Experts  ( 4  points) 
-  Reinforced Blast Doors  ( 5  points) 
-  H9 Turbolasers  ( 8  points) 
-  Assault Proton Torpedoes  ( 5  points) 
= 118 total ship cost
MC80 Battle Cruiser (103 points)
-  Mon Karren  ( 8  points) 
-  Strategic Adviser  ( 4  points) 
-  Caitken and Shollan  ( 6  points) 
-  Nav Team  ( 4  points) 
-  Linked Turbolaser Towers  ( 7  points) 
-  Spinal Armament  ( 9  points) 
= 141 total ship cost
GR-75 Medium Transports (18 points)
-  Comms Net  ( 2  points) 
= 20 total ship cost
GR-75 Medium Transports (18 points)
-  Comms Net  ( 2  points) 
= 20 total ship cost
1 Lando Calrissian ( 23 points) 
1 Jan Ors ( 19 points) 
2 X-Wing Squadrons ( 26 points) 
1 Hera Syndulla ( 28 points) 
= 96 total squadron cost

Thursday, May 7, 2020

Romodi Dual Onagers vs Agate Starhawk

Continuing the Dual Onager testing, I brought the Onagers with a pair of Gozantis and a medium squadron component consisting of Maarek, Jendon, Bossk, and Ciena. On the other side, Andy brought a Starhawk mk2 set up for tanking with Walex and EST. In support, he had a Projection Expert Pelta, GR75, Lando, and 3 YT2400s. I had the bid, took first, and picked Asteroid Tactics. Here is the opening of round 1:


In the first round, I began to lay into the Starhawk with Cataclysm (on left). Here is the opening of round 2:


In the second round, Andy began to shift focus to turn toward Romodi’s Onager on left. I hit him hard with both Onagers and Maarek/Jendon. I lost Maarek to QLT/Salvo and a YT follow up. I had sacrificed Ciena to try to tie up his squadrons, but she too went down thanks to some lucky accuracies. Here is the opening of round 3:


In the third round, I continued to hammer at the Starhawk, knocking it down to only 5 hull remaining.  Here is the opening of round 4:


In the fourth round, I was unable to kill the Starhawk in my first activation. As a result, it put a lot of damage on my flagship. The squadrons were able to finish that Onager off. My other Onager hit the Pelta and prepared to finish it off in the following round. Here is the opening of round 5:


In the fifth round, the Pelta was destroyed and the squadrons were unable to finish off my remaining Onager. Solid win for the Imperials. Splitting the Onagers worked out well. It made it difficult for Andy to achieve a tabling. The Starhawk can tank a lot of damage, but both Onagers with Maarek & Jendon proved to be far too much. Good to know.

Here is my complete list, for the record:

Gozanti-class Cruisers (23 points)
-  Hondo Ohnaka  ( 2  points) 
-  Disposable Capacitors  ( 3  points) 
-  Comms Net  ( 2  points) 
= 30 total ship cost
Onager-class Testbed (96 points)
-  Cataclysm  ( 5  points) 
-  Admiral Ozzel (off)  ( 2  points) 
-  Gunnery Chief Varnillian  ( 6  points) 
-  Veteran Gunners  ( 5  points) 
-  Medical Team  ( 1  points) 
-  Orbital Bombardment Particle Cannons  ( 5  points) 
= 120 total ship cost
[ flagship ] Onager-class Testbed (96 points)
-  General Romodi  ( 20  points) 
-  Strategic Adviser  ( 4  points) 
-  Ordnance Experts  ( 4  points) 
-  Veteran Gunners  ( 5  points) 
-  Medical Team  ( 1  points) 
-  Orbital Bombardment Particle Cannons  ( 5  points) 
= 135 total ship cost
Gozanti-class Cruisers (23 points)
-  Darth Vader (off)  ( 1  points) 
-  Disposable Capacitors  ( 3  points) 
-  Comms Net  ( 2  points) 
= 29 total ship cost
1 Colonel Jendon ( 20 points) 
1 Maarek Stele ( 21 points) 
1 Bossk ( 23 points) 
1 Ciena Ree ( 17 points) 
= 81 total squadron cost

Wednesday, May 6, 2020

Agate Defiance vs Romodi Dual Onagers

Continuing with Dual Onager testing, Andy brought the Onagers with a pair of Gozantis and an interesting squadron component consisting of 3 Decimators and Dengar. On my side, I brought Agate on an MC80C with a Projection Expert Nebulon and GR75. Additionally, I brought a heavy squadron component consisting of Shara, Tycho, 2 A-Wings, 2 VCXs, Lando, and Ketsu. I had the bid, took first, and picked Minefields. Here is the opening of round 1:


Here is the opening of round 2:


In the second round, I opened it with a squadron command from the MC80 to try to knock out Dengar and tie up the Decimators. Unfortunately, he survived on a single hull point. This allowed Andy to attack my MC80 with his Decimators in addition to both Onagers. I managed to eliminate Dengar in the squadron phase, but the damage was done. Here is the opening of round 3:


In round 3, my MC80 had little effect and was destroyed without much trouble. Here is the opening of round 4:


Here is the opening of round 5:


My Nebulon was destroyed without much trouble, completing the tabling. I was entirely too aggressive in this match. I thought that if I could move fast, I could evade one of the ignition arcs and tank the other. My inability to eliminate Dengar and tie up the Decimators made it impossible to take the damage from the two Onagers. I certainly regret bringing A-Wings for this match. They seem to be better suited to medium-sized squadron components.

Here is my complete list, for the record:

GR-75 Medium Transports (18 points)
-  Bright Hope  ( 2  points) 
-  Hondo Ohnaka  ( 2  points) 
-  Comms Net  ( 2  points) 
= 24 total ship cost
[ flagship ] MC80 Command Cruiser (106 points)
-  Kyrsta Agate (com)  ( 20  points) 
-  Defiance  ( 5  points) 
-  Walex Blissex  ( 5  points) 
-  Engine Techs  ( 8  points) 
-  Boosted Comms  ( 4  points) 
-  Electronic Countermeasures  ( 7  points) 
-  Linked Turbolaser Towers  ( 7  points) 
-  SW-7 Ion Batteries  ( 5  points) 
= 167 total ship cost
Nebulon-B Support Refit (51 points)
-  Redemption  ( 8  points) 
-  Projection Experts  ( 6  points) 
-  Linked Turbolaser Towers  ( 7  points) 
= 72 total ship cost
1 Lando Calrissian ( 23 points) 
1 Ketsu Onyo ( 22 points) 
1 Tycho Celchu ( 16 points) 
1 Shara Bey ( 17 points) 
2 VCX-100 Freighters ( 30 points) 
2 A-Wing Squadrons ( 22 points) 
= 130 total squadron cost

Cracken MSU vs Romodi Dual Onagers

Dual Onager seems to be a strong archetype that requires consideration. I decided to run a Cracken MSU with a medium-sized squadron component. Andy brought the Dual Onagers with a Demolisher and Gozanti. He had the bid, took first, and picked my Solar Corona. Here is the opening of round 1:


Opening of round 2:


I was able to knock out the Gozanti with a Quantum Storm double-ram after Andy rammed the Gozanti with the lead Onager. Demo hit my Hammerhead and it hit back. Opening of round 3:


Demo finished off both the Hammerhead and Quantum Storm. My CR90s crowded in, but one was left exposed in the ignition arc of the lead Onager. Here is the opening of round 4:


I was able to bring down the rear Onager with my squadrons. The lead Onager picked up speed to exit the area. Opening of round 5:


In the fifth round, Demo jumped over the Onager to finish off my trailing CR90. My last remaining CR90 was able to escape with a fair bit of damage and my squadrons finished off Demo. This gave me a 6-5 victory. Cracken MSU worked against the Onagers, but it was a bloody affair. The squadrons pulled disproportionate weight in the fight. Rogue squadrons, particularly Lando and Ketsu are the real stars.

Here is my complete list, for the record:

CR90 Corvette A (44 points)
-  Turbolaser Reroute Circuits  ( 7  points) 
= 51 total ship cost
GR-75 Medium Transports (18 points)
-  Bright Hope  ( 2  points) 
-  Slicer Tools  ( 7  points) 
= 27 total ship cost
Hammerhead Torpedo Corvette (36 points)
-  Garel's Honor  ( 4  points) 
-  Ezra Bridger  ( 3  points) 
-  Cham Syndulla  ( 5  points) 
-  External Racks  ( 3  points) 
= 51 total ship cost
GR-75 Medium Transports (18 points)
-  Quantum Storm  ( 1  points) 
-  Slicer Tools  ( 7  points) 
= 26 total ship cost
CR90 Corvette A (44 points)
-  Turbolaser Reroute Circuits  ( 7  points) 
= 51 total ship cost
[ flagship ] CR90 Corvette A (44 points)
-  General Cracken  ( 26  points) 
-  Jainas Light  ( 2  points) 
-  Hondo Ohnaka  ( 2  points) 
-  Turbolaser Reroute Circuits  ( 7  points) 
= 81 total ship cost
1 Ketsu Onyo ( 22 points) 
1 Lando Calrissian ( 23 points) 
1 Shara Bey ( 17 points) 
1 Tycho Celchu ( 16 points) 
2 VCX-100 Freighters ( 30 points) 
= 108 total squadron cost

Tuesday, April 14, 2020

Raddus Starhawk & MC75 vs Agate MC75 & Pelta

For this game, I brought Raddus on board the Starhawk with Concord and Magnites among other things. In hyperspace, I had an MC75 Ordnance Cruiser. On the other side, Andy also had an MC75 with Agate, a Pelta with Projection Experts, and a substantial rogue squadron component. I had bid, took first, and picked Fleet Ambush. I then ambushed him on turn 1:


In the first round, I waited out the MC75 and then activated the Starhawk to drop it to speed 0. After that, I nearly destroyed the MC75 with my own MC75. We decided to call the game at that point as I had the first activation and was prepared to finish Andy’s flagship and then block the Pelta in. It was a forgone conclusion. Here is the closing state which is much like the opening position:


We then decided to start over with my choice of remaining objectives. I picked Advanced Gunnery here is the opening of round 1:


In the first round, I simply approached with opposing fleet with my Starhawk. I wanted to close and eliminate both ships as quickly as possible to prevent the squadrons from chipping away at me. In the second round, I continued to maneuver and then I placed the MC75 at the opening of round 3. Unfortunately, I missed that picture. I placed my own MC75 in front of his, but in such a way as to shoot and move to intercept the Pelta. I was concerned to get it before it could move to the side of my fleet and escape. I failed to do justice to the strength of the MC75 tank and failed to properly use the Magnites to my advantage. Nevertheless, here is the opening of round 4 after my errors:


 Fourth round, I lost the Starhawk. The Pelta managed to inflict some fairly substantial damage on my MC75 before it also went down. Here is the opening of round 5:


In the fifth and sixth round, Andy was just barely able to finish of my MC75 with his fighters for a crushing victory. It was well played on his side and I failed to calculate the endurance of the opposing MC75 with Agate and Walex on board. It was also detrimental for me to make the Starhawk the objective ship. Had I made a flotilla the objective ship, I would have been better able to use my salvo tokens in conjunction with my regular flak and anti-ship shots.

Tagge ISD & Arquittens vs Mothma MSU

For this game, I brought Tagge on board the ISD2 (with Local Fire Control), a pair of Arquittens (one with Hand of Justice), a Gozanti, and medium squadron coverage. On the other side, Andy brought Mon Mothma with Foresight, Admonition, a pair of Torpedo Hammerheads, a Scout Hammerhead, Slicer Storm, and light squadron coverage. He had bid, took first, and selected Fleet In Being. Here is the opening of round 1:


In the first round, I moved in up cautiously, planning to focus on the pair of MC30s. Andy kept Foresight in the rear and brought the Hammerheads over as fast as possible. In the second round, he was able to move Admo in to double-arc my right flank Arquittens. Here is the opening of round 3:


In the third round, Admonition destroyed my Arquittens and jumped over to threaten my second Arquittens. Here is the opening of round 4 (sorry it’s blurry):


In the fourth round, Admonition hit the remaining Arquittens and jumped away, Foresight jumped into position to finish my Arquittens, and I failed to bring down Foresight with my ISD. Here is the opening of round 5:


In the fifth round, Andy finished my Arquittens with Foresight and then escaped danger. My ISD dropped two Hammerheads and then closed with the last Hammerhead. Here is the opening of round 6:


In the final round, Andy activated the Hammerhead and escaped my front arc. He also passed on the opportunity to shoot the ISD thanks to Salvo. Game over. Andy had substantial activation advantage and used it to good effect. Mothma was very effective on his side while Tagge once again failed to provide any benefit to me, though Fleet in Being was nice. My ISD was still in great shape at the end of the game. The Salvo token combined with SW-7s provided consistent damage and later disincentivized Andy from focusing down my flagship. The Arquittens did not fair well. With the ability to first-last, the MC30s had the ability to wreck my smaller ships while avoiding the ISD.

Tuesday, March 31, 2020

Tagge Victories & Arquittens vs Madine Liberties

This was a bit of a jank fleet match. I brought Tagge for the first time. I had a pair of Vic 1s with LFC, ExRacks, and LTT. In support, I had a pair of Arquittens, a Gozanti, and a light squadron cover. On the other side, Andy brought a pair of Exodus Fleet LMC80s with Madine as the Admiral. I had bid and picked second. Andy selected my Opening Salvo. Here is the start of round 1:


In the first round, I pushed my fleet up haphazardly to counter the thrust of the LMC80 on the right side. Here is the opening of round 2:


In the second round, I put some damage into the LMC80, but my damage output was so underwhelming that it shrugged it off. Andy was able to wait out my Victory before activating. He scored a massive hit that dropped the Vic to only 2 hull. Here is the opening of round 3:


In the third round, the LMC80 activated first and finished off the Victory without issue. It then went on to destroy my flagship Arquittens. I was then seriously out-activated. The other LMC80 was able to line up a nice close range shot on my second Arquittens and destroy it in the following round. We called it after that. Very solid win for Andy.

This was a bad matchup for my fleet. The LMC80s have no problem generating accuracies and none of my ships had ECM. Andy also did well to separate his fleet and perform something of a one-two punch—hitting hard with one ship on turn three and then knocking out the other Arquittens on turn four. I failed to use Tagge at all. Perhaps I need a more aggressive approach. We shall see next week.

Here is my complete fleet:

Faction: Galactic Empire
Points: 397/400  
Commander: General Tagge
Assault Objective: Opening Salvo
Defense Objective: Abandoned Mining Facility
Navigation Objective: Salvage Run
[ flagship ] Arquitens-class Light Cruiser (54 points)
-  General Tagge  ( 25  points)
-  Hand of Justice  ( 4  points)
-  Expert Shield Tech  ( 5  points)
-  Turbolaser Reroute Circuits  ( 7  points)
= 95 total ship cost
Arquitens-class Light Cruiser (54 points)
-  Expert Shield Tech  ( 5  points)
-  Turbolaser Reroute Circuits  ( 7  points)
= 66 total ship cost
Victory I-Class Star Destroyer (73 points)
-  Admiral Ozzel (off)  ( 2  points)
-  Local Fire Control  ( 4  points)
-  Linked Turbolaser Towers  ( 7  points)
-  External Racks  ( 3  points)
= 89 total ship cost
Victory I-Class Star Destroyer (73 points)
-  Emperor Palpatine (off)  ( 3  points)
-  Local Fire Control  ( 4  points)
-  Linked Turbolaser Towers  ( 7  points)
-  External Racks  ( 3  points)
= 90 total ship cost
Gozanti-class Cruisers (23 points)
-  Hondo Ohnaka  ( 2  points)
-  Comms Net  ( 2  points)
= 27 total ship cost
1 Ciena Ree ( 17 points)
1 Valen Rudor ( 13 points)
= 30 total squadron cost