Tuesday, March 31, 2020

Tagge Victories & Arquittens vs Madine Liberties

This was a bit of a jank fleet match. I brought Tagge for the first time. I had a pair of Vic 1s with LFC, ExRacks, and LTT. In support, I had a pair of Arquittens, a Gozanti, and a light squadron cover. On the other side, Andy brought a pair of Exodus Fleet LMC80s with Madine as the Admiral. I had bid and picked second. Andy selected my Opening Salvo. Here is the start of round 1:


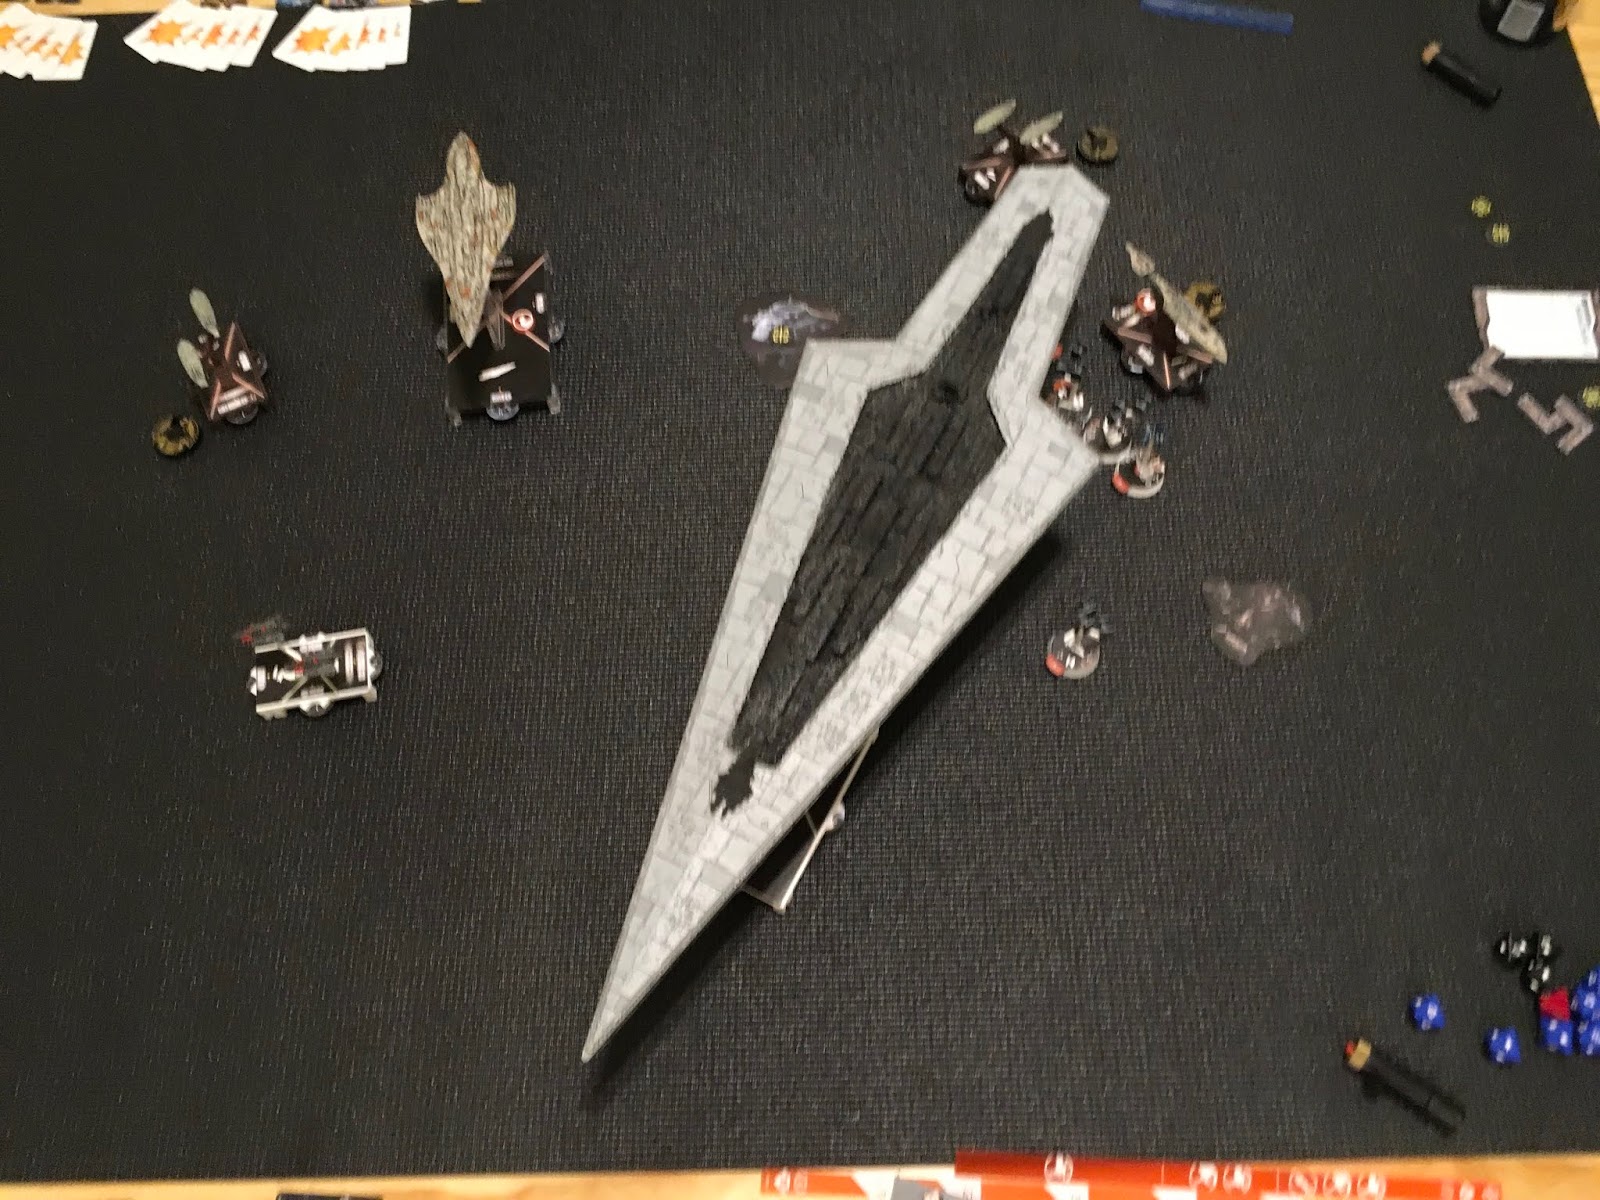
In the first round, I pushed my fleet up haphazardly to counter the thrust of the LMC80 on the right side. Here is the opening of round 2:


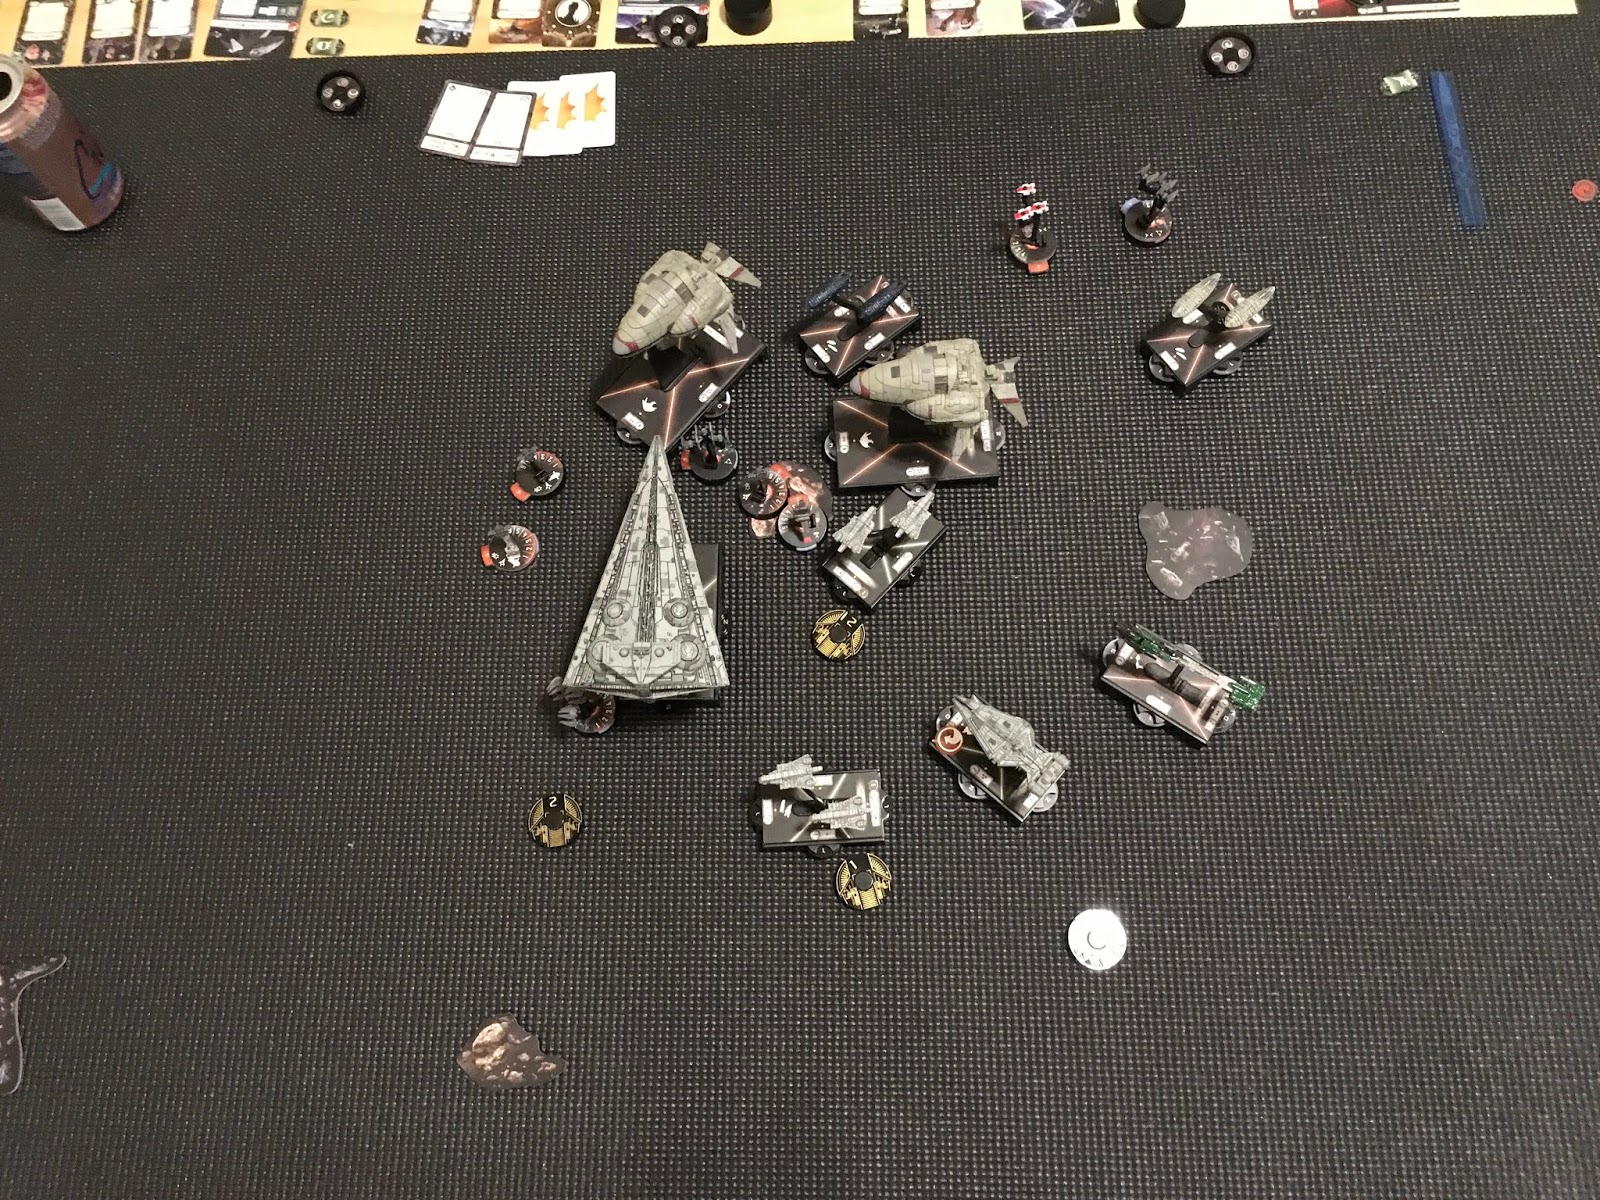
In the second round, I put some damage into the LMC80, but my damage output was so underwhelming that it shrugged it off. Andy was able to wait out my Victory before activating. He scored a massive hit that dropped the Vic to only 2 hull. Here is the opening of round 3:


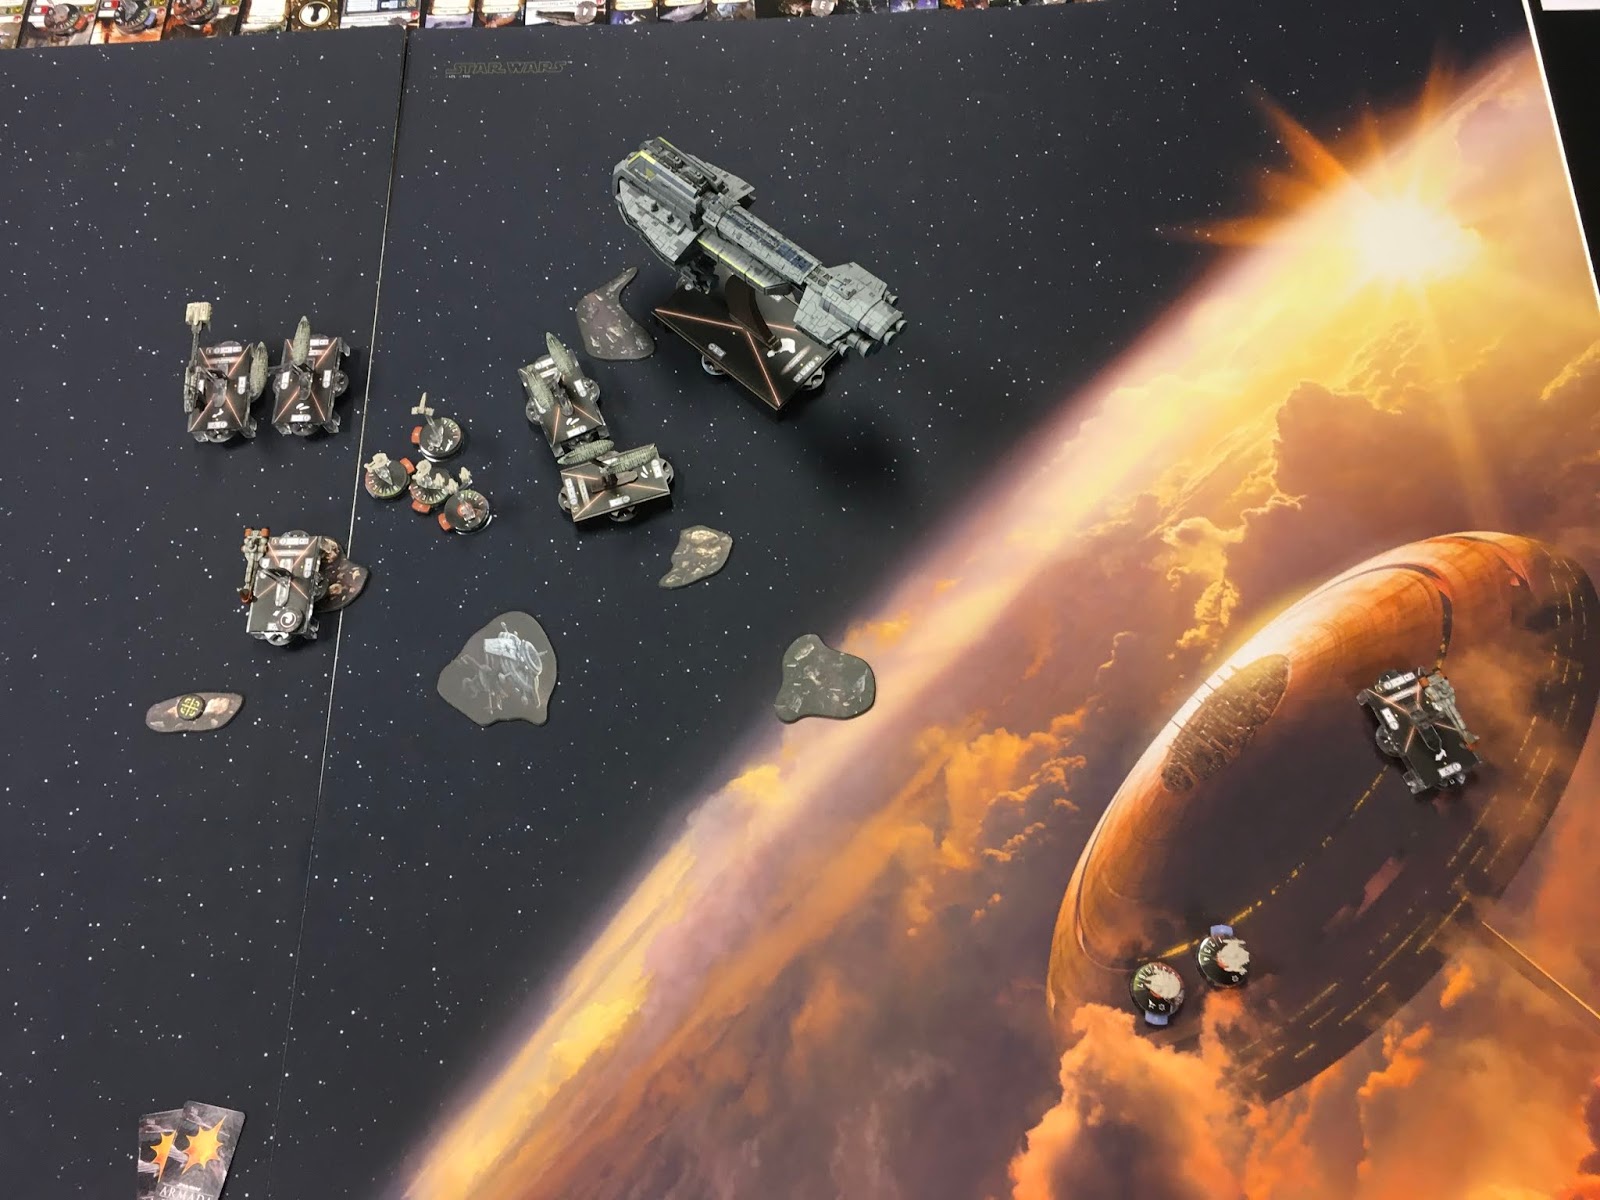
In the third round, the LMC80 activated first and finished off the Victory without issue. It then went on to destroy my flagship Arquittens. I was then seriously out-activated. The other LMC80 was able to line up a nice close range shot on my second Arquittens and destroy it in the following round. We called it after that. Very solid win for Andy.

This was a bad matchup for my fleet. The LMC80s have no problem generating accuracies and none of my ships had ECM. Andy also did well to separate his fleet and perform something of a one-two punch—hitting hard with one ship on turn three and then knocking out the other Arquittens on turn four. I failed to use Tagge at all. Perhaps I need a more aggressive approach. We shall see next week.

Here is my complete fleet:

Faction: Galactic Empire
Points: 397/400  
Commander: General Tagge
Assault Objective: Opening Salvo
Defense Objective: Abandoned Mining Facility
Navigation Objective: Salvage Run
[ flagship ] Arquitens-class Light Cruiser (54 points)
-  General Tagge  ( 25  points)
-  Hand of Justice  ( 4  points)
-  Expert Shield Tech  ( 5  points)
-  Turbolaser Reroute Circuits  ( 7  points)
95 total ship cost
Arquitens-class Light Cruiser (54 points)
-  Expert Shield Tech  ( 5  points)
-  Turbolaser Reroute Circuits  ( 7  points)
66 total ship cost
Victory I-Class Star Destroyer (73 points)
-  Admiral Ozzel (off)  ( 2  points)
-  Local Fire Control  ( 4  points)
-  Linked Turbolaser Towers  ( 7  points)
-  External Racks  ( 3  points)
89 total ship cost
Victory I-Class Star Destroyer (73 points)
-  Emperor Palpatine (off)  ( 3  points)
-  Local Fire Control  ( 4  points)
-  Linked Turbolaser Towers  ( 7  points)
-  External Racks  ( 3  points)
90 total ship cost
Gozanti-class Cruisers (23 points)
-  Hondo Ohnaka  ( 2  points)
-  Comms Net  ( 2  points)
27 total ship cost
1 Ciena Ree ( 17 points)
1 Valen Rudor ( 13 points)
30 total squadron cost

Agate Mon Karren vs Sloane SSD

For this game, I brought Agate on Mon Karren with Heavy Ions, an MC30 TRC Scout, a pair of GR75s, and a medium squadron ball consisting of Shara/Tycho, 2 A-Wings, Lando, and Ketsu. On the other side, Andy brought a Command Type SSD with Sloane, a Gozanti, and a medium squadron ball of TIE Fighters and such. Andy had the bid and gave me first. I picked his Dangerous Territory. Here is the opening deployment:


In the first round, I dove right in with Mon Karren to start getting some damage on the SSD. I kept the MC30 at a respectful distance and bunched my A-Wings up around Mon Karren. Here is the opening of round 2:


In the second round, I worked both combat ships along the sides of the SSD. Here is the opening of round 3:


In the third round, I managed to get behind the SSD. My squadrons were wrecked, but they did manage to distract the TIEs. At this point, I was shooting for a half kill on he SSD. Here is the opening of round 4:


In the fourth round, I continued to chip away at the SSD. My MC30 began to shed tokens fast from the squadrons. Here is the opening of round 5:


In the fifth round, I hit the SSD with the MC30 and tried to jump away. The SSD was able to knock it out with a squad token. Unfortunately for it, the MC30 had delivered quite a lot of damage and Mon Karren was able to put in the last few damage to finish it off. This gave the Rebels a solid win.

Sunday, March 22, 2020

Romodi Interdictor & Rogues vs Agate Dual Assault Frigates

For this game, I brought Romodi onboard a Dictor with HIE, Brunson, Scramblers, etc.; an EST/LTT Arquittens; a pair of Comms Net Gozantis; and a squadron ball consisting of Maarek/Jendon, 2 Firesprays, Hondo Squadron, Ciena, and Mauler. On the other side, Andy brought a Salvo-heavy Agate fleet with a pair of Assault Frigates, Vanguard Nebulon, a pair of GR75s, and Shara/Tycho. He had bid and chose to go second. I picked Most Wanted and here is the opening of round 1:


In the first round, I tokened up. Andy accidentally rammed his flagship Frigate into a GR75 and ended up staying in place. This was useful to me. Here is the opening of round 2:


In the second round, my fighters began to engage his fleet and my Interdictor positioned itself to intercept the lead Frigate. Here is the opening of round 3:


In the third round, my Interdictor failed to procure the necessary HIE critical, but still managed some damage. My Firesprays followed up in the squadron phase with enough damage to drop it to a single hull. Here is the opening of round 4:


In the fourth round, I was able to apply some serious pressure to the flagship Frigate with my Dictor. I used the rock to obstruct the shot which weakened the salvo return fire while giving me a sweet damage bonus. The lead Assault Frigate went down to a ram and then I used my Engine Techs to escape the flagship Frigate side arc. We played it out, but the game was essentially over at this point. My Firesprays along with Maarek and Jendon were able to clean up the Nebulon and Frigate for the tabling. In return, I lost a Gozanti and my Arquittens.

Andy and I forgot about the Most Wanted extra dice during the round 3 shooting. That would have certainly caused me to burn through my tokens faster, but I don’t think it would have changed the results. The Arquittens and Dictor combo worked well for me. On the other side, I feel like the Nebulon was out of place as a result of deployment disadvantage. Had it been in a tighter formation with the Frigates, it may well have been enough to bring the Dictor down. Salvo continues to be a powerful inclusion. I have a lot of respect for the Assault Frigate thanks to this token.

Sunday, March 15, 2020

Agate Paragon & Admo vs Agate Starhawk

For this game, I brought an Agate Paragon build using the AFmk2A for extra salvo excellence with Cham Syndulla onboard backed by a fairly lightly upgraded Admonition, and a Rogue-heavy squadron ball. On the other side, Andy brought a Starhawk with heavy tank, TRC90, and a medium squadron ball. I took first and picked his Solar Corona. Here is the opening of round 1:


In the first round, we maneuvered for engagement. I had Andy out-activated, so that helped. I was going for a bit of a pincer move with my combat ships. Here is the opening of round 2:


In the second round, I jumped my squadrons into the fray and waited out the Starhawk before moving Paragon into range to use Cham Syndulla. Here is the opening of round 3:


In the third round, I activated Paragon first to try to get it out of the double-arc. Unfortunately, I had a CF command dialed in instead of a Nav command. I was already going speed three, but I needed one more click of yaw to clear the GR75. Alas, a terrible mistake in my planning. The Starhawk was able to bring Paragon down to a single hull and then the CR90 managed to get the last damage in. Nevertheless, I positioned Admonition for a very nice next-round volley. My squadrons continued to work on the Starhawk as well. Here is the opening of round 4:


In the fourth round, Admonition scored a pair of APT hits and jumped to the other side of the Starhawk, narrowly avoiding the front arc. Here is the opening of round 5:


In the fifth round, Admonition was able to finish off the Starhawk with a nice broadside and then jump to safety with no shields or defense tokens remaining. My squadrons chipped away at the CR90, but it was still in good shape. Here is the opening of round 6:


In the sixth round, the CR90 was able to escape at speed 4, keeping Ketsu just out of range. This one was a win for my side, but it was very close. Had the Starhawk scored one more good shot on Admo, it would have been a big loss for me.

Once again, Salvo showed its strength big time. In the second round, I had a double arc on the Starhawk and—thanks to Salvo—Paragon took more damage as the aggressor than the Starhawk did. Similarly, when the Starhawk wrecked Paragon my own Salvo did excellent work in stripping shields as the tokens were mostly spent at that point. Salvo really is a game-changer.

Piett Onager & ISD v Raddus Admo & Mon Karren

For this game, I brought a Pryce Onager and an ISD2 with Piett and Beck. In support, I brought Maarek, Jendon, Ciena, Valen, Jonus, and Black Squadron. On the other side, Andy brought a Raddus on Admo, a CR90, a GR75, Mon Karren in hyperspace, and Shara/Tycho in support. Here is the opening of round 1:


In the first round, I slow-rolled it forward. Here is the opening of round 2:


In the second round, I knocked out Shara and turned to meet Admonition. I also put a little bit of damage on the CR90. Andy elected was able to double-arc the ISD with Admo and then he dropped Mon Karren in the rear. Here is the opening of round 3:


In the third round, Admo activated first of course and hit my ISD quite hard. I then really misplayed the ISD by landing on a rock and getting into medium range of Mon Karren (while giving it the double-arc). I could not have played it worse if I had tried. Onager hit Mon Karren, but only with the red dice. Here is the opening of a grim-looking round 4:


In the fourth round, Andy knocked out the ISD with the first activation and got out of the ignition arc.  I chipped away at both the CR90 and Mon Karren with a bit of help from salvo and the squads. Here is the opening of round 5:


In the fifth round, we traded more fire and all three ships were in pretty rough shape. Here is the opening of round 6:


In the final round, Andy activated Mon Karren first and fired out the rear. I salvoed back to clear his shields. MK had only two hull remaining and no shields. He wasn’t able to get out of long range either. I then finished off the CR90 with a rear shot and then scored the last 2 damage out the side. I ended up taking the close win despite the much deserved loss of my flagship. Good game. My salvo token single-handedly secured the victory for me. Of quick note, had Andy turned Admonition to the left toward my Onager at the opening of round 3, he would most certainly have won.

Thursday, March 5, 2020

Casual Tournament with Agate Unity & Rogues

I brought a Starhawk with rogues to the monthly tournament nearby. In the first game, I was paired with Tyler who brought Yavaris MSU/Aces with Agate on Yavaris. I had a slight bid and chose first. I picked Surprise Attack. Here is the opening of round 1:


In the first round, I pushed forward at speed 2 and sent some squads into the mix. Here is the opening of round 2:


In the second round, I failed to have a squad command queued up (bummer), but I was able to do good work with flak nonetheless. I then dove into the squad ball. Here is the opening of round 3:


In the third round, I nearly destroyed Yavaris with a front arc shot and was able to finish it off with Lando in the squad phase thanks to grit. Nym and Norra were both finished off with Salvo shots. Here is the opening of round 4:


In the fourth round, I cleaned up the squads and I was able to finish off the CR90 with Lando and Ketsu. Solid win for me. Here is the last image:


In the second game, I was paired with Bernie. He also was running Yavaris MSU. I picked Dangerous Territory. Bernie had the deployment advantage and set up to do a pincer move. Here is the opening of round 1:


I decided to turn right into the corvettes and let my squads tie up the Yavaris-assisted Biggs ball. I also picked up a pair of objective tokens. Here is the opening of round 2:


In the second and third rounds I was able to eliminate the CR90 and wear away Bernie’s squads. He committed to taking down Shara and his X-Wings took a beating as a result. He also took down Dash in the exchange. I committed Lando and Ketsu to running down the Rieekan hammerhead lifeboat in the lower right. Here is the opening of round 4:


In the fourth round, I worked on the hammerhead and Yavaris, but with only a pair of YT2400s, I could not make any progress there. Here is the opening of round 5:


I was able to finish off his lifeboat, but that was it. We called it after that. This was the first time I brought the Starhawk and I was pleased with the result. It was able to effectively dismantle both Yavaris lists. Between the flak and my rogues, I was able to consistently obtain squadron superiority. I also was able to withstand any attacks without much worry. This is a very solid list and does exactly what my Interdictor/Demo list attempted to do: provide a solid points fortress while projecting Rogue firepower across the board to wear down the opposition. The chief problem may be that the Starhawk is too tough. This disincentivizes the opponent to commit to an attack and makes it difficult to win big. Here is my complete list:

GR-75 Medium Transports (18 points)
-  Bright Hope  ( 2  points)
-  Toryn Farr  ( 7  points)
27 total ship cost
[ flagship ] Starhawk-class Battleship Mark II (150 points)
-  Kyrsta Agate (com)  ( 20  points)
-  Unity  ( 10  points)
-  Expert Shield Tech  ( 5  points)
-  Walex Blissex  ( 5  points)
-  Local Fire Control  ( 4  points)
-  Linked Turbolaser Towers  ( 7  points)
-  Heavy Ion Emplacements  ( 9  points)
210 total ship cost
GR-75 Medium Transports (18 points)
-  Leia Organa (off)  ( 3  points)
-  Comms Net  ( 2  points)
23 total ship cost
1 Lando Calrissian ( 23 points)
1 Dash Rendar ( 24 points)
1 Ketsu Onyo ( 22 points)
1 Tycho Celchu ( 16 points)
2 YT-2400s ( 32 points)
1 Shara Bey ( 17 points)
134 total squadron cost
Points: 394/400  


Monday, March 2, 2020

Romodi Onager & Quasar vs Agate Starhawk

For this game, I brought Romodi with an Onager, Quasar, and fairly typical fighter ball. On the other side, Andy brought a Starhawk with Liberator and GR75. Andy took second and I picked his Infested Field. Here is the opening of round 1:


In the first round, I moved my Gozantis to obstruct the Onager and prepared my squads to jump into action. Here is the opening of round 2:


In the second round, I began to hit the Starhawk with squads and the Onager. Here is the opening of round 3:


In the third round, The Starhawk continued to approach. The CR90 had a double-arc on the Quasar. I was chewing through the squadrons with some of my own, while my bombers did work on the Starhawk. Here is the opening of round 4:


In the fourth round, I jumped my Quasar over the CR90, but it went down regardless. Andy dropped my Gozanti. I almost had the Starhawk. Here is the opening of round 5:


In the fifth round, I dropped the GR75 with my ignition attack and then was able to finish the Starhawk with my side arc. My Onager was able to jump out of danger from the CR90. This one was a fairly solid win, but had I not killed the Starhawk, it may very well have killed my Onager and tabled me instead.

This one really highlighted the toughness of the Starhawk. Andy had outfitted the Starhawk for aggression instead of tanking. Had he included a bit stronger defensive measures, then he would have dropped the Onager for sure.