I wanted to break out the MC30s and something of an MSU list again after a lengthy hiatus. I put together a Cracken list (I prefer him over Mothma when I am going TRC Heavy) with a pair of Scout type MC30s (Foresight/Derlin and Admo/Lando) with OEs, APTs, and TRCs; an Engine Tech TRC90; a pair of Slicer flotillas; and Shara/Tycho plus two A-Wings.
In the other side, Andy brought a four activation Ackbar list with two Assault Frigates, a FCT TRC90, Leia Comms Net flotilla, and a squadron complement of Shara/Tycho, Gold Squadron, and a VCX. I had the bid and chose to go second, mostly for practice purposes. Andy chose my Planetary Ion Cannon, which I place mostly in the center in order to force him off to the sides where I could easy get in front of the line. Here is the board state at deployment:

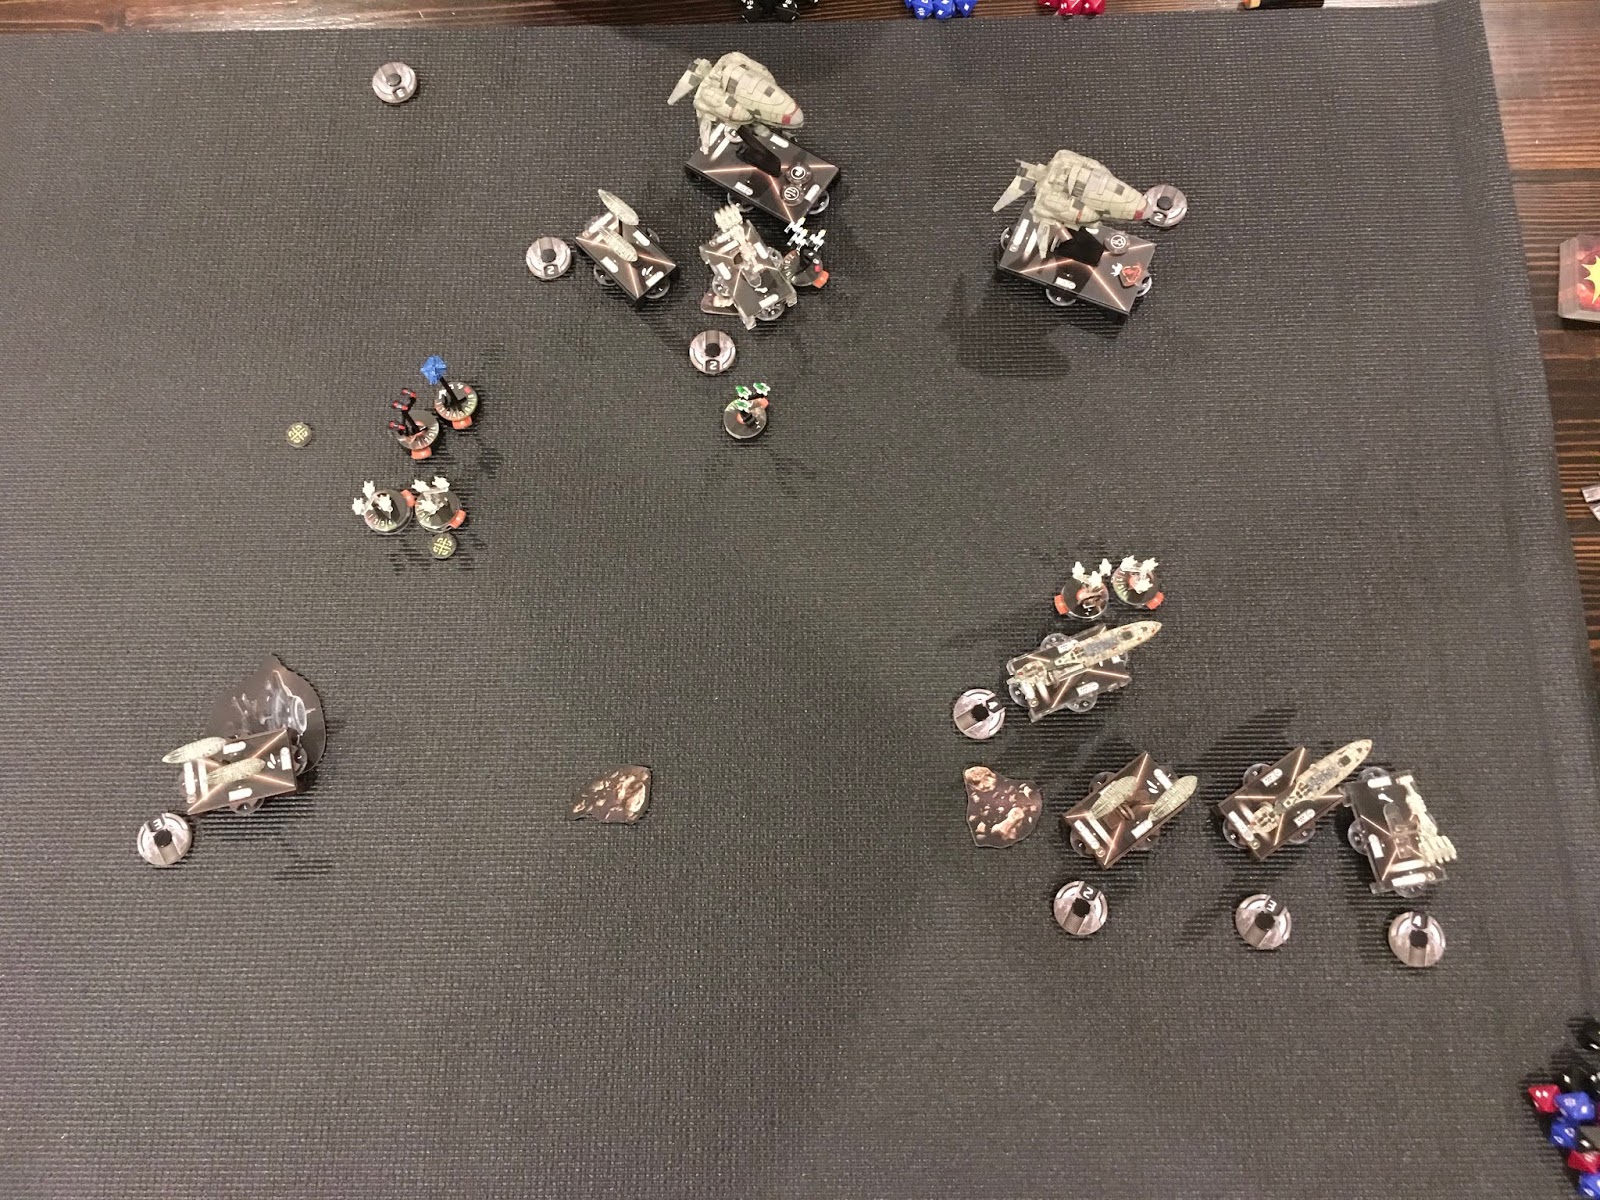

In the fourth round, I was able to finish off the Ackbar Frigate. From there, little else happened. I lost both generic A-Wings while Andy lost Gold Squadron and his VCX. I managed to work his CR90 down to only two hull, but with only two activations remaining, I was stuck with long-range shots. Here is the final board state:

This was another very close game. It ended as a 6-5 in my favor. I really enjoy the MC30s, but I dislike how dependant they are on being first player. My use of TRC Scouts mitigated that slightly, but it is hard to justify taking them instead of a pair of TRC90s for a comparable points cost. I made a big mistake in turn three by activating my Bright Hope flotilla instead of the CR90. This resulted in both of them being destroyed by the Ackbar slash from the trailing Frigate giving Andy the activation advantage for the rest of the game. Ouch. My two 30s performed quite well, and with Cracken, were highly resilient to damage.
Lessons Learned:
- Be careful with activation order. Make sure to activate threatened assets early.
- Don’t be careless with the flotillas. Their activation presence is often hugely important, even beyond turn 3.
No comments:
Post a Comment
Note: Only a member of this blog may post a comment.