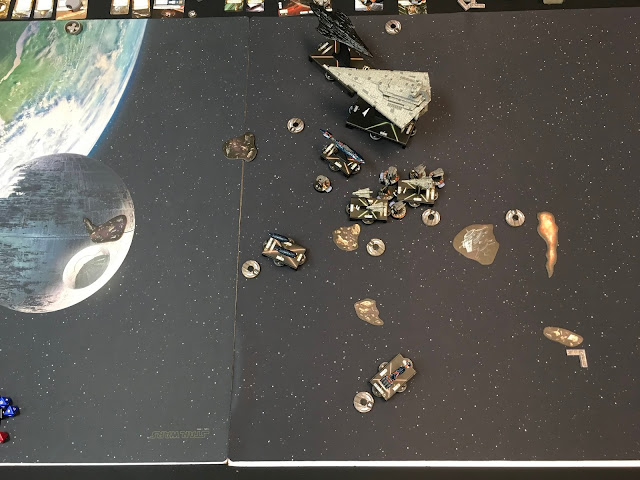
Thanks to my bye, I was paired with none other than my usual opponent (Andy), who I also drove with. I was running an ACM BTA Kuat and HIE Raider with a Gozanti and squadron component of Mauler/Dengar, Morna, and 3 Decimators. Andy took first and picked my Close Range Intel Sweep. I deployed in the corner to make him come to me and to decrease his flanking options. I also had Pryce on the Kuat, which I set to round 3 after seeing his deployment and speed. Here is the opening of round 1:
In the first round, I moved forward slowly, as did Andy, with his CR90 attempting to circle around to the rear. Here is the opening of round 2:
In the second round, I turned my formation inward. My Decimators ground Tycho up. Here is the opening of round 3 before the Liberty was placed facing the Kuat, just to the right of Admo:
In the third round, my Raider had no shot and I accidentally rammed my Gozanti. Admo jumped into position for a sweet activation. The Liberty shot the Raider for little effect thanks to Brunson. My Kuat got a medium range shot on Admo, which was reduced down to a single damage, but I made him blow Lando. I made a mistake here and meant to ram the Liberty and drop back to the speed two joint, but miscalculated and ended up close enough that the Liberty could just fly right by me. I didn’t want to spend my Nav token to drop down to speed two as I intended to flee the scene in the following round. Oops. Mauler finished Shara and my Decimators began to go to work on Admo. Here is the opening of round 4:
In the fourth round, the Liberty managed to maneuver out of the Kuat front arc in the first activation. I then activated my Raider in order to get a volley off on Admo. This cost my Gozanti, as Admo easily disposed of it. My Kuat was able to deliver a side/rear double arc shot on the Liberty triggering ACMs on both shots. The CR90 double-rammed my Raider. My squadrons barely managed to finish off Admo. Here is the opening of round 5:
In the fifth round, my Raider was able to DCap/HIE against the Liberty, which had made some repairs with the first activation. This softened it for my Decimators. The CR90 finished my Raider and my squads finished the Liberty. Here is the opening of round 6:
In the sixth round, I put some damage on the GR75, but was one or so damage shy of finishing it off. The CR90 flew into range of the Kuat, who scored a long range accuracy for a CRIS token (my third of the game). That concluded the game with a 9-2 in my favor.
My list performed well. Pryce was a solid asset on the Kuat and Brunson worked very well on the Raider. The Decimators took damage and just kept on going, which I loved. On the flip side, I felt like their anti-ship damage was well under the 1.5 expected average damage. Other than the failed ramming attempt with my Kuat in round 3, I believe I managed things well.
I was really disappointed to get the bye and doubly disappointed to be paired with Andy for my only game. I was really hoping to try this list out on a couple different opponents in order to better assess the efficacy of both the Decimator-Heavy squadron component as well as the Kuat/Raider combo. Alas, it was not to be.


No comments:
Post a Comment
Note: Only a member of this blog may post a comment.