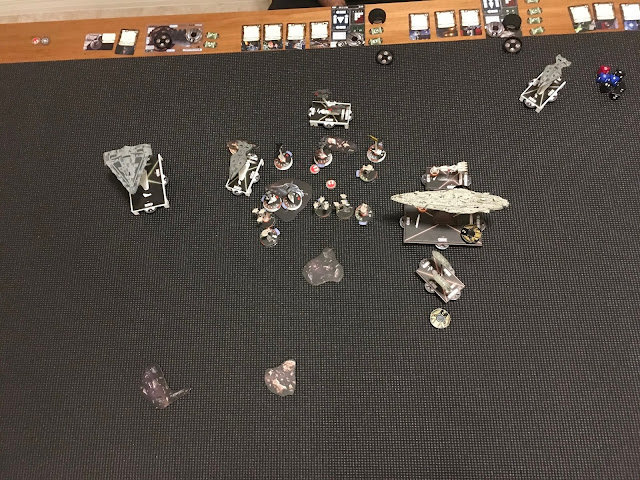
In the first round, I decided to hit his far left flank (where he positioned his flagship) hard and try to draw him away from the station. To effect this, I needed to try to cut the said flagship off from the rest of his fleet. I also wanted to knock out Moralo as fast as I could. I positioned my squadrons to go for the alpha-strike. Here is the opening of round 2:
In the second round, I managed to kill Moralo on my second activation but lost Shara and Lando in the process. Andy dropped his flagship to speed zero to avoid entering medium range of my MC80. This was a reasonable move, but left him exposed at long range. Here is the opening of round 3:
In the third round, I was able to take down the flagship with the combined fire of the CR90 an MC80. I also lined up a sweet double-arc shot on the remaining Arquittens with my MC80. Here is the opening of round 4:
In the fourth round, my MC80 completely whiffed with the side-arc shot against the Arquittens, only managing a couple of damage. I moved the CR90 in to pursue the Quasar and Andy positioned his Gozanti to hit my already-damaged CR90. The squadron fight was pretty much mine, but it had been a bit of a Pyrrhic victory as I had only Tycho, and A-Wing, and a single YT2400 remaining. Not enough to do meaningful damage to the Quasar. Here is the opening of round 5:
In the fifth round, I had a real dilemma: let the Arquittens escape and save my CR90 or kill the Arquittens and potentially lose the CR90. I went for the kill. I dropped the remaining Arquittens, but the Gozanti used a CF dial to finish off my CR90 in return. The Quasar took a bit of damage from the MC80, but was able to keep at long range and so stayed out of danger of destruction. It ended up being a decent victory my way.
It worked well to put everything into taking down Moralo. I was also able to tie up one of the Lambdas and so gave Moralo a single token-move quasi-activation. If Moralo had an escort and the Lambdas had Intel, I probably would have hit the first Arquittens but turned away from the rest of the fleet to the right in order to keep well away from the station. I played my CR90 rather aggressively and paid for that. Draven played no role and I ended up not using LTTs against squadrons. The traditional TRC setup would have been superior.
As for the Admirals, Palpatine provided little value. He did help against Shara by forcing me to discard a scatter, but played little role against my ships. Garm on the other hand was actually a lot of fun. It seems that he enables aggressive play, which really encouraged me to get the fight moving early to utilize all those sweet tokens. He is a solid admiral that I would certainly run again.


No comments:
Post a Comment
Note: Only a member of this blog may post a comment.