Tuesday, January 7, 2020

Casual Tournament with Agate Mon Karren

I went to another casual tournament in Orlando over the weekend and brought an experimental Agate list. I had an alternate list in case there were any objections to me running a proxied Admiral. Here is the list that I ended up using:

MC80 Battle Cruiser (103 points)
-  Kyrsta Agate (com)  ( 20  points) 
-  Mon Karren  ( 8  points) 
-  Walex Blissex  ( 5  points) 
-  Gunnery Team  ( 7  points) 
-  Engine Techs  ( 8  points) 
-  Linked Turbolaser Towers  ( 7  points) 
-  Spinal Armament  ( 9  points) 
-  Leading Shots  ( 4  points) 
171 total ship cost
GR-75 Medium Transports (18 points)
-  Comms Net  ( 2  points) 
20 total ship cost
CR90 Corvette A (44 points)
-  Jainas Light  ( 2  points) 
-  Ezra Bridger  ( 3  points) 
-  Engine Techs  ( 8  points) 
-  Turbolaser Reroute Circuits  ( 7  points) 
64 total ship cost
CR90 Corvette A (44 points)
-  Engine Techs  ( 8  points) 
-  Turbolaser Reroute Circuits  ( 7  points) 
59 total ship cost
1 Shara Bey ( 17 points) 
1 Dash Rendar ( 24 points) 
1 Tycho Celchu ( 16 points) 
1 Lando Calrissian ( 23 points) 
80 total squadron cost

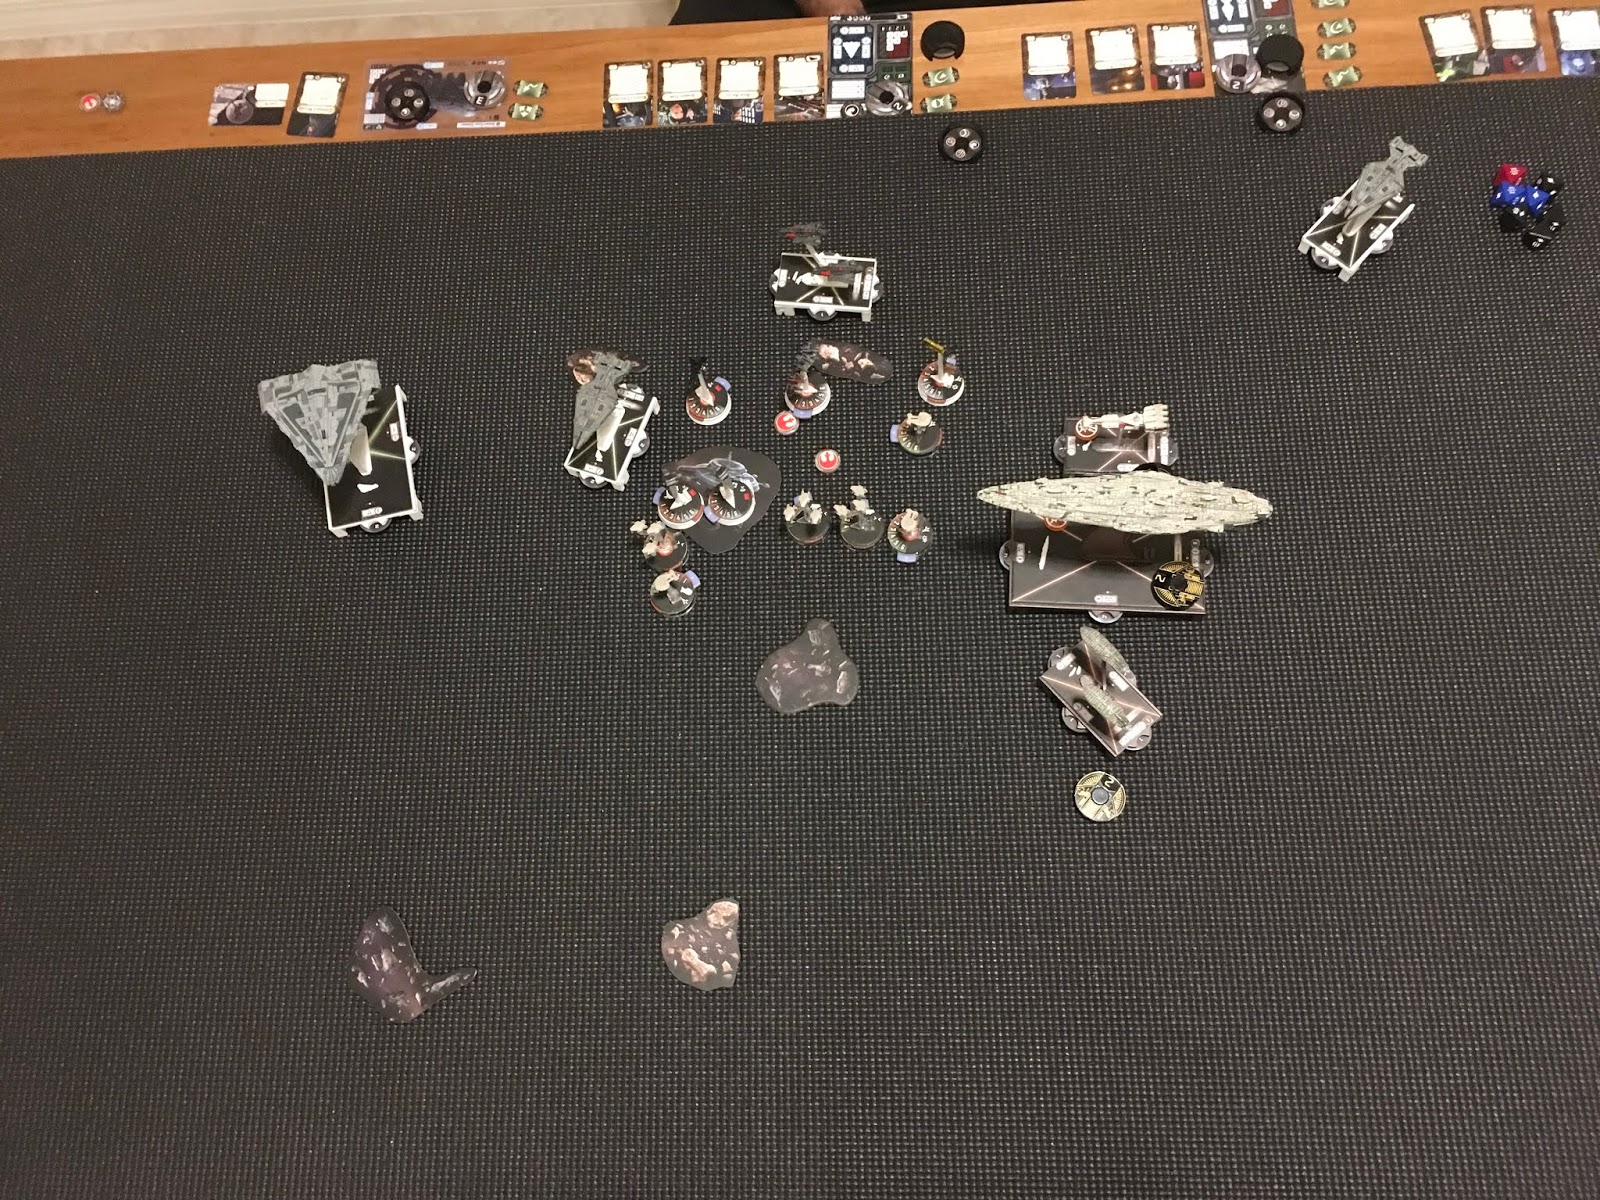
For the first game, I was paired with Bernie. I don’t think I had ever played a game against Bernie, but he is a regular in these parts and a frequent Interdictor user. He had a Piett list with the Dictor, Demolisher, and a BCC Gozanti. His squadrons were bomber-heavy with Maarek/Jendon, a pair of Firesprays, Rhymer, and a few others. I took first and selected his Salvage Run. Here is the opening of round 1 after the Grav Shift:


In the first round, I slowly pushed my flotilla and non-Jaina TRC90 forward to wait for Bernie’s combat ship activations. Then I pounced with Mon Karren to deliver a fast flanking movement while Jaina’s Light took to the center in order to apply some pressure on the Dictor and prepare to grab a sweet objective token. Maarek/Jendon softened Jaina up a bit while the Firesprays hit Mon Karren. Here is the opening of round 2:


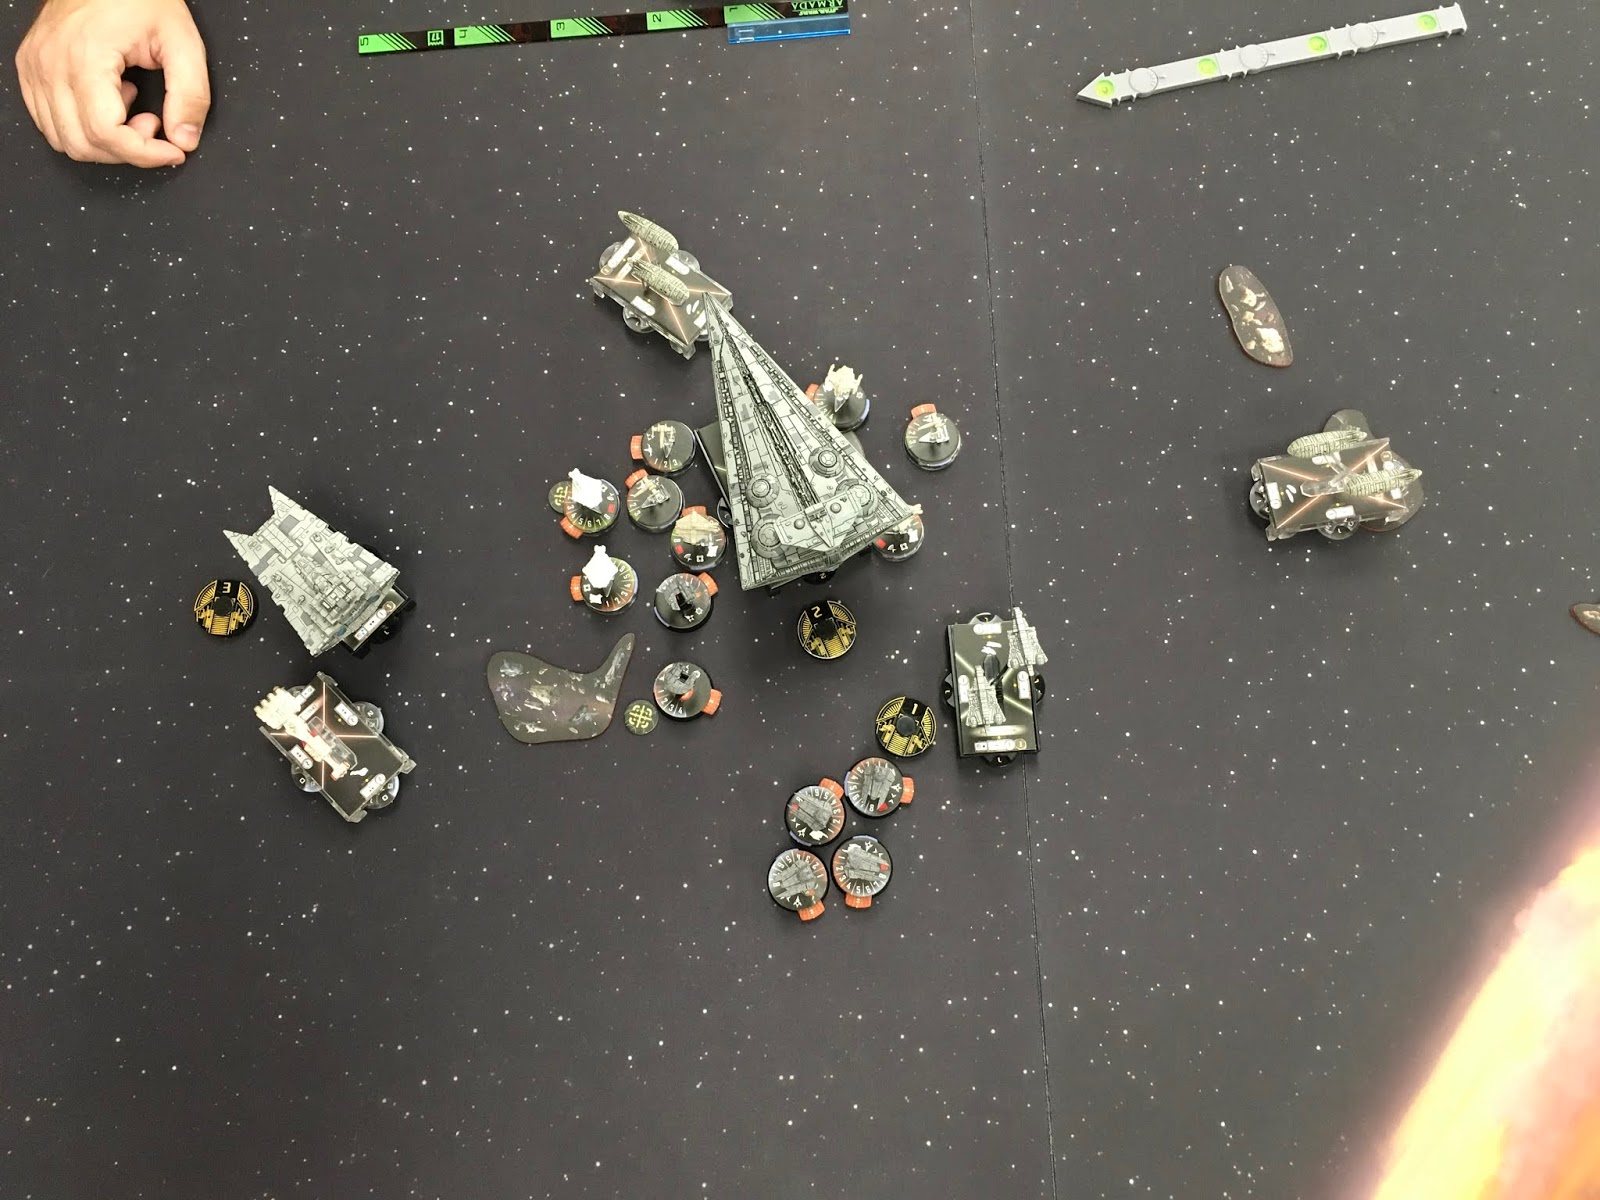
In the second round, I activated Jaina’s Light, took the token and flew out to relative safety. Bernie activated his Dictor next and hit both of my TRC90s. Next, I blundered a bit in activation order. Instead of activating my 90 that was threatened by Demo, I went with Mon Karren in order to get a shot in on Demo before it flew off. I was able to destroy the Gozanti, but did minor damage to Demo.  Demo was then able to activate and destroy my TRC90 thanks to the prior HIE shot from the Dictor.  In the squadron phase, I kept Maarek firmly occupied with Dash. The Firesprays chipped away at Mon Karen, but it was slow work against three braces. Here is the opening of round 3:


The remainder of the game involved the destruction of the Dictor by Mon Karren and the wrecking of Bernie’s squadrons by my own for the loss of Tycho. I was able to grab a second Salvage token to tie up the objective points and ended the game with a solid victory. Here is the final game state:


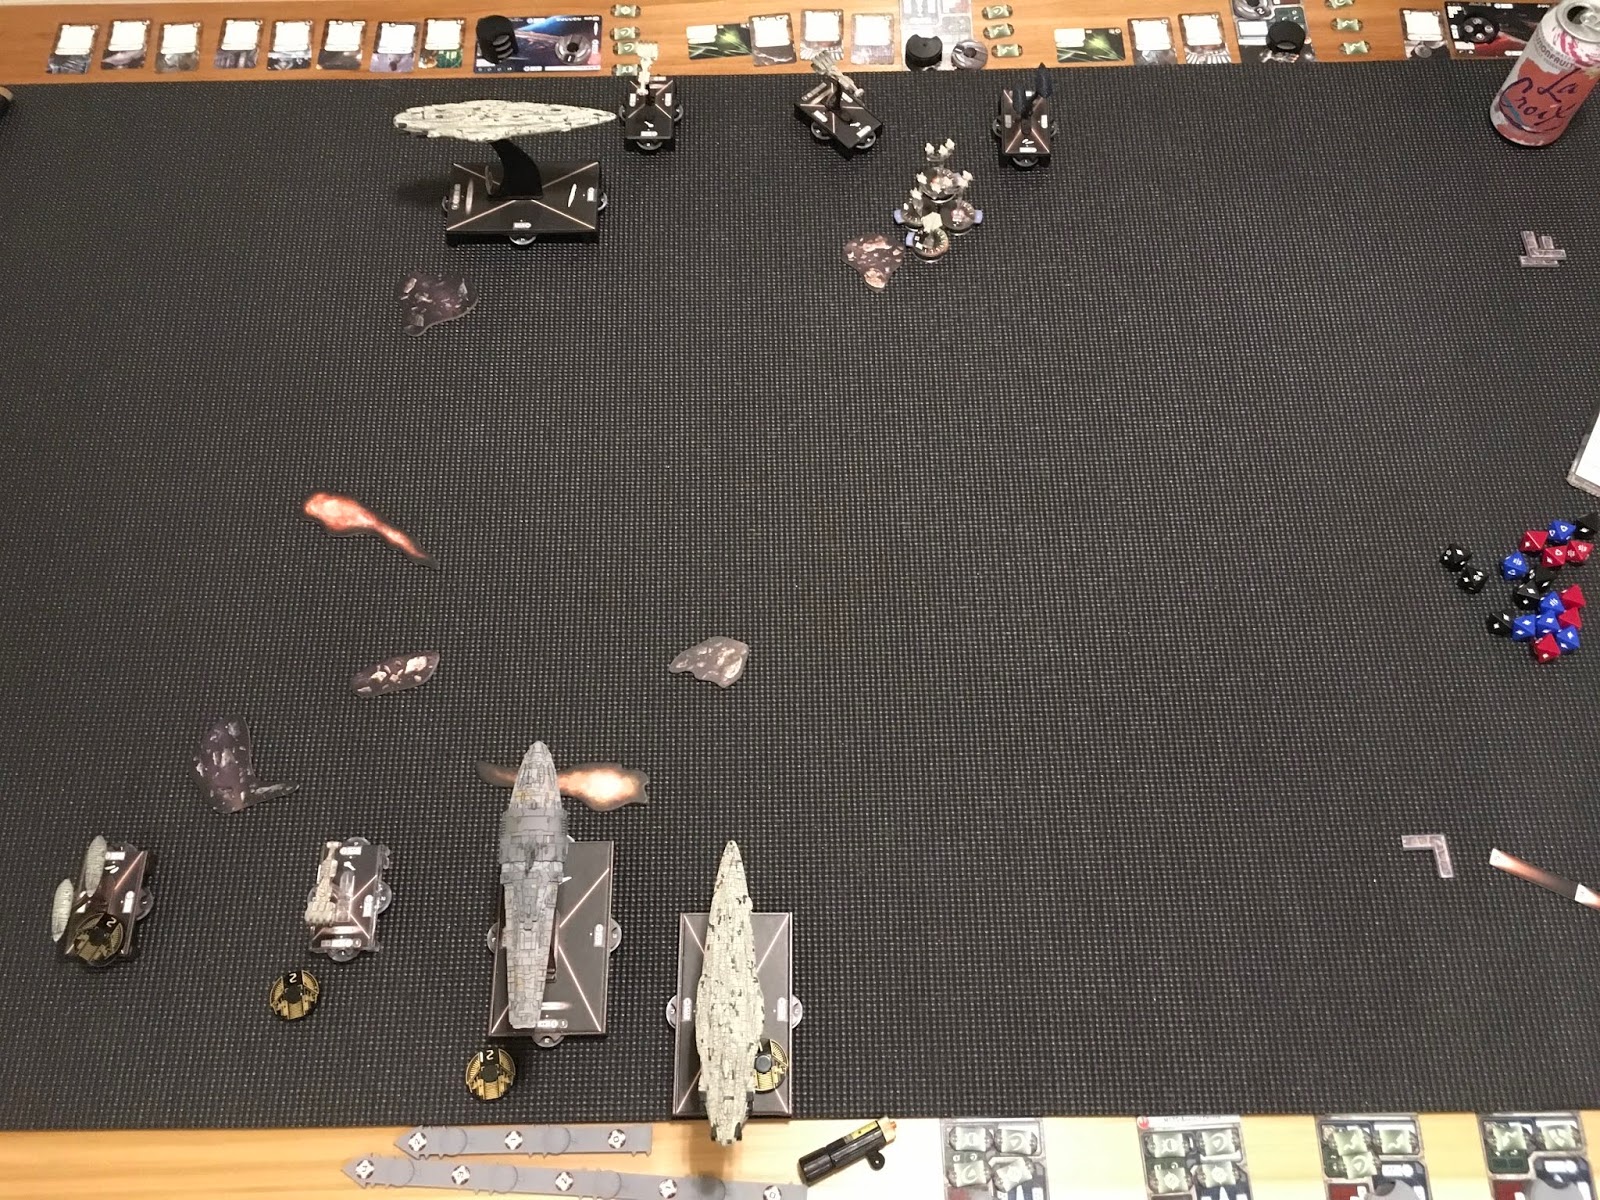
With a solid win on my first game I was paired next with Cameron who was running a Dodonna list with an MC80, Assault Frigate, and BCC flotilla. His squadrons consisted of Dutch, Wedge, Jan, and three generic B-Wings. He had the bid, took second, and I picked his Surprise Attack. Here is the opening of round 1:


In the first round, I used Ezra to move one of the rocks out of the way so that I could maneuver Mon Karren through safely, which I intended to use to intercept the MC80. I pushed Shara and Tycho up to engage some of his fighters in the squadron phase. Here is the opening of round 2:


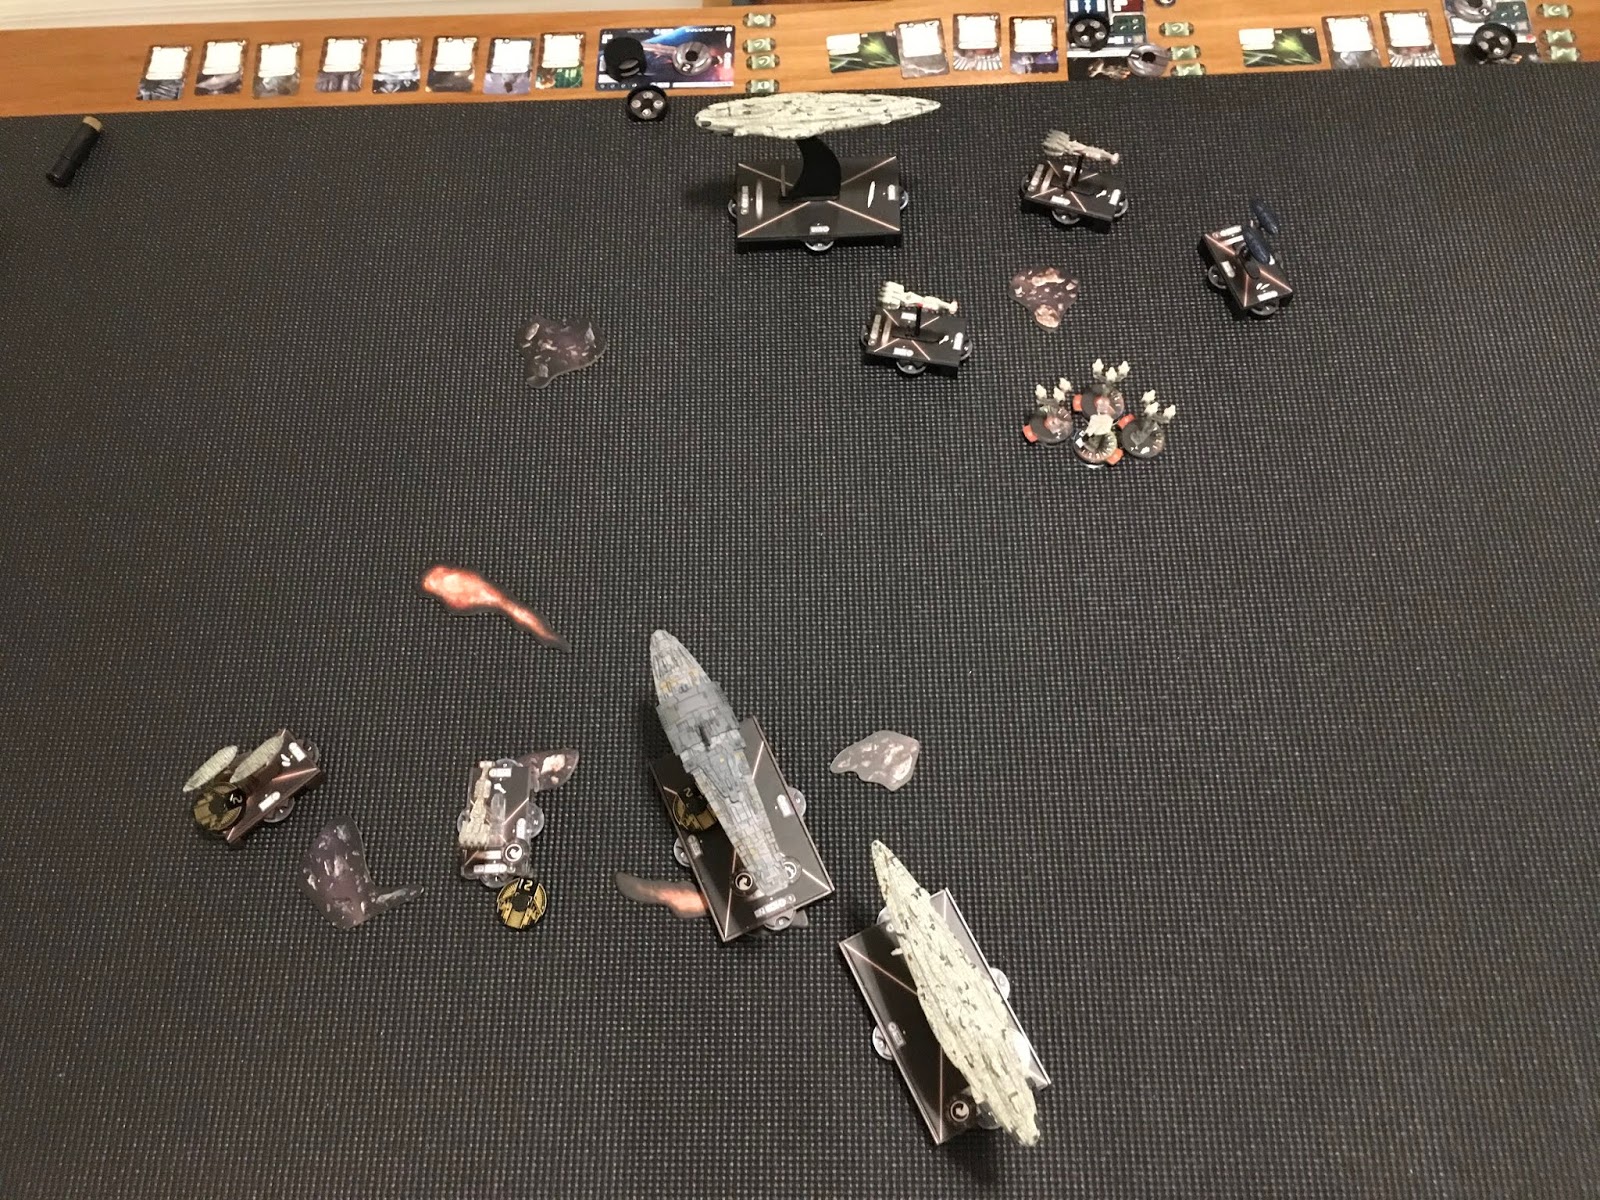
In the second round, I pushed Mon Karren up to put some damage on both the MC80 as well as the Assault Frigate. It was a bad idea to place Mon Karren in such an exposed spot, but with Agate and three braces, I figured I was basically invincible. Or something. Here is the opening of round 3:


In the third round, I hit both the Assault Frigate and the MC80 before jumping forward at speed three.     Jaina’s Light (On left) survived a long-ranged shot from the MC80. The other TRC90 applied some pressure on the Assault Frigate, but I was loosing the damage race at this point. Mon Karren’s shields were depleted and things were looking ugly. Turn four, I nearly escaped with Mon Karren, but Cameron scored just what he needed to finish it off at long range. Jaina’s Light also went down before it could activate. My remaining TRC90 was able to apply some damage, but it was insufficient to bring down either of Cameron’s heavy hitters and I pulled it out of the fight. Cameron was able to attain a solid win. Well done to him!

Lessons To Be Learned:

- Delay engagement when doing Surprise Attack. Thanks to my tokens, I was able to do some work in round two, but the raid was very painful in round 3 especially. Had I delayed, the raid effect may have been mitigated.

- Agate is fantastic, but still highly susceptible to a lot of small hits over time. Don’t be overly aggressive with Agate.

- Focus Fire. I had a shot on the Assault Frigate in round three with me front arc, but I should have forgone that shot to either flak the squadrons or deliver a side arc shot on the MC80.

- Be careful with CR90s. They are so incredibly flimsy. Not really news here, but I overestimated their survivability in the first game for some reason.

Thursday, January 2, 2020

Romodi Dual Interdictors vs Agate MC75

For this game, we decided to try out the upcoming commanders for the first time. I took Romodi and put together a list containing dual Interdictors, an Arquittens, and a pair of Gozantis. Andy brought Agate on board an MC75 Ordnance Cruiser, a TRC90, Yavaris, and a pair of GR75s. In support, he had a medium squadron component with a bunch of Y-Wings and such. I had the bid, took second player, and Andy chose my Doomed Station. Here is the opening of round 1:


In the first round, my more heavily-kitted, non-flagship Dictor took the lead while my flagship remained in the rear. Here is the opening of round 2:


In the second round, I stripped the shields from the MC75. I had an impressive kill-box set up to ensure that there was no escape for his flagship. Andy was more cautious with Yavaris and the TRC90 and was able to keep them mostly out of reach. Here is the opening of round 3:


In the third round, the MC75 went down in a blaze of glory. Yavaris remained out of range of the Arquittens and the rear Dictor. The squadrons piled on my front Dictor, working it slowly down. Here is the opening of round 4:


In the fourth round, my front Dictor continued to take on a steady trickle of damage while Andy’s TRC90 strayed into range of my rear Dictor. He rammed my Gozanti to finish it off after it took some damage from the MC75 and then used engine techs to escape the Dictor double-arc. This brought him into long range of my Arquittens, which was able to throw five reds with LTT and finish it off.

In the fifth round, my front Dictor double-rammed the closer GR75 to kill it and then finally died after it lost the Brunson effect. Yavaris was out of the fight and my flagship and Arquittens were likewise unable to engage. Nevertheless, I was able to collect the objective token on the station every round plus kill a bit more of Andy’s fleet than he killed of mine so it was a solid Imperial victory.

Here’s what worked well: Romodi combined beautifully with the Arquittens. They are a natural fit. The Interdictors with obstruction, DCaps, CF commands, and CF tokens almost guaranteed the HIE critical effect without having to discard a dice as I would in a Screed fleet. The Interdictor is easy to fly in such a way as to get the double-arc. I highly recommend both the Dictor and Arquittens. If I had the points I would also have loved to upgrade the Gozantis to the Assault Type. At one point, I had my Gozanti throw three blue dice thanks to a CF command and obstruction. It would have been an easy thing to have done this multiple times from long range with reds. Alternatively, DCaps could be a very interesting inclusion on the Gozantis for the three blue dice at long range. In short: Romodi is a fantastic commander!

Saturday, December 28, 2019

800 Point Madine vs Thrawn

This one was our first 800 point game. We also had a third player to make it a two on one game. I took the rebels and Andy and Anthony took the Imperials. Mine was a a Madine list with an MC80 Mon Karren, MC75 Ordnance Cruiser, 3 MC30 Scouts, a CR90, a pair of GR75s, and an A-Wing/YT2400 squadron ball. On the other side, Andy had the SSD Command type with an MMJ squadron ball in Rapid Launch Bays and a pair of Gozantis. Anthony had a Vic1, Vic2, and Demo with Ciena/Valen. I had a substantial deployment advantage and so was able to position the bulk of my fleet on the right in order to hit his flank and roll the fleet up. At least, that was my intent on deployment. Here is the opening of round 1:


In the first round, I lined up my MC30s to apply rapid pressure on the Imperial flank. My MC75 moved along slowly to threaten the SSD should it turn hard to engage the rest of my fleet. My CR90 sped in to double-arc the SSD and prepare to jump out of range. Here is the opening of round 2:


In the second round, my fleet worked the Vic1 down and almost finished it. Here is the opening of round 3:


In the third round, I was able to finish off the Vic1 without issue and put pressure on the Vic2. My MC30 formation scattered after two of them took some relatively substantial shield damage. The SSD dropped the MMJ ball on my MC75, but it was unable to destroy it outright and my A-Wings were able to kill the Jumpmaster and tie up the opposing squadrons. Demo scored an APT hit on the Liberty that resulted in the Blinded Gunner critical. That was the absolutely pivotal point in the fight as I was depending on an accuracy to lock down the Vic2 brace and destroy it before it could shoot. Here is the opening of round 4:


In the fourth round, I was unable to kill the Vic2 outright with the Liberty thanks to the Blinded Gunners. As a result, it was able to kill my Liberty flagship instead before my MC30s could finish it. My MC75 was also finished off by the SSD. With the destruction of my two heavy-hitters in return for the the 2 Victories, we called the game. I may have been able to hunt down Demo with Lando and a TY2400, but the rest of my squadrons would have been eliminated by Maarek, Morna, and Jendon and my flotillas were also in danger. Here is the final board state:


This was a really fun game. Having 800 points to play with was great and allowed me to get some ships out that rarely see action. My TRC Scout Frigates are normally far too expensive for what they do, but with the extra points, I felt like I could justify their inclusion. Without Ackbar, Arquittens are just better for the cost, but they are a lot of fun. My Liberty did some work, but went down very quickly against the combined firepower of Demolisher and the Victory. In retrospect, it would have been better to keep the MC30s close to the Liberty to cover its approach and to help against Demo, but I was expecting them to do better damage on the first pass and then to simply use the Liberty as a finisher. All in all, great game!

Sunday, December 22, 2019

Garm MC80 vs Palpatine Quasar & Arquittens

For this game, we randomly drew underutilized admirals. I drew Garm and Andy drew Palpatine. Rather than taking some dumpster trash, I went with a big heavy with some rogue support. I brought an MC80C with ET, HIE, LTT, ECM, and EST; a CR90 with ET, LTT, Jaina’s Light, and Draven; a Toryn Farr GR75; and a squadron ball consisting of Shara, Tycho, 2 A-Wings, Lando, Dash, and 2 YT2400s. On the other side, Andy brought a pair of Arquittens, a Quasar, a Comms Net Gozanti, Bossk, Maarek/Jendon, Moralo Eval, and a pair of Lambdas. He had the bid and picked second. I chose his Targeting Beacons. Here is the opening of round 1:


In the first round, I decided to hit his far left flank (where he positioned his flagship) hard and try to draw him away from the station. To effect this, I needed to try to cut the said flagship off from the rest of his fleet. I also wanted to knock out Moralo as fast as I could. I positioned my squadrons to go for the alpha-strike. Here is the opening of round 2:


In the second round, I managed to kill Moralo on my second activation but lost Shara and Lando in the process. Andy dropped his flagship to speed zero to avoid entering medium range of my MC80. This was a reasonable move, but left him exposed at long range. Here is the opening of round 3:


In the third round, I was able to take down the flagship with the combined fire of the CR90 an MC80. I also lined up a sweet double-arc shot on the remaining Arquittens with my MC80. Here is the opening of round 4:


In the fourth round, my MC80 completely whiffed with the side-arc shot against the Arquittens, only managing a couple of damage. I moved the CR90 in to pursue the Quasar and Andy positioned his Gozanti to hit my already-damaged CR90. The squadron fight was pretty much mine, but it had been a bit of a Pyrrhic victory as I had only Tycho, and A-Wing, and a single YT2400 remaining. Not enough to do meaningful damage to the Quasar. Here is the opening of round 5:


In the fifth round, I had a real dilemma: let the Arquittens escape and save my CR90 or kill the Arquittens and potentially lose the CR90. I went for the kill. I dropped the remaining Arquittens, but the Gozanti used a CF dial to finish off my CR90 in return. The Quasar took a bit of damage from the MC80, but was able to keep at long range and so stayed out of danger of destruction. It ended up being a decent victory my way.

It worked well to put everything into taking down Moralo. I was also able to tie up one of the Lambdas and so gave Moralo a single token-move quasi-activation. If Moralo had an escort and the Lambdas had Intel, I probably would have hit the first Arquittens but turned away from the rest of the fleet to the right in order to keep well away from the station. I played my CR90 rather aggressively and paid for that. Draven played no role and I ended up not using LTTs against squadrons. The traditional TRC setup would have been superior.

As for the Admirals, Palpatine provided little value. He did help against Shara by forcing me to discard a scatter, but played little role against my ships. Garm on the other hand was actually a lot of fun. It seems that he enables aggressive play, which really encouraged me to get the fight moving early to utilize all those sweet tokens. He is a solid admiral that I would certainly run again.

Thursday, December 12, 2019

Leia Swarm vs Tarkin Cymoon & Demo

After spending the last several games preparing for primes, Andy and I decided to bring out some commanders that rarely see the light of day for this fun game. I decided on Leia and Andy picked Tarkin. I brought an Assault Frigate with LTT and ECM, 4 Scout type Hammerheads with Slaved Turrets, 4 Y-Wings, and 4 A-Wings. Andy brought a Cymoon heavily kitted out, Demolisher with Iden Verso, Arquittens with ETs and QBTs, a Gozanti, and a small squadron component consisting of Valen and Jonus. I had bid, took first, and picked his Most Wanted. In retrospect, I should have taken second player. Here is the opening of round 1:


In the first round, we lined up our approaches. Things did not look good for me, but I was hoping that my A-Wings and Y-Wings would contribute meaningfully. Here is the opening of round 2:


In the second round, I got a shot off with my lead Hammerhead on the right, but Demo and the Cymoon teamed up to kill it. My Frigate sent the A-Wings over to hit Demo as the Cymoon was just out of range. Here is the opening of round 3:


In the third round, I lost two more Hammerheads, only one of which was able to activate and shoot. The remaining Hammerhead sent some Y-Wings to help against Demo. The Frigate jumped over Demo. Here is the opening of round 4:


In the fourth round, the Assault Frigate scored a single damage on Demo from the LTT-enhanced double-arc. That was highly disappointing. The Arquittens was able to dispatch my only remaining Hammerhead. I was unable to get out of the front arc of the Cymoon and ended up giving Andy a double arc shot at medium range. Even with ECMs, the Frigate popped in very anti-climactic manner, giving Andy a crushing victory.

I failed big time to concentrate fire with my assets. Andy was able to effectively focus fire with the Cymoon and Demo to knock out my Hammerheads quite handily. In the third round, he very successfully forked my last Hammerhead and Assault Frigate. The dice certainly failed me with that activation, but even with Demo destroyed it would have been a 10-1 victory for Andy just the same. Well flown by him. I can’t even blame my loss on Leia. I suspect I need a lot more practice with Hammerheads to unlock their potential.

Sunday, December 8, 2019

Florida Prime Report

Here is my Florida Prime write-up. I managed to claw my way to the regional/prime victory for the second year running. This year, I brought a very similar list to the last year, with some notable changes to the squads due to the anti-squad tech on the typical SSD. Here is my list for reference:


Assault Objective: Surprise Attack
Defense Objective: Rift Ambush
Navigation Objective: Superior Positions
[ flagship ] Interdictor-class Suppression Refit (90 points)
-  Admiral Screed  ( 26  points)
-  Interdictor  ( 3  points)
-  Captain Brunson  ( 5  points)
-  Engine Techs  ( 8  points)
-  Disposable Capacitors  ( 3  points)
-  Heavy Ion Emplacements  ( 9  points)
-  Targeting Scrambler  ( 5  points)
-  Grav Shift Reroute  ( 2  points) 
Gladiator II-Class Star Destroyer (62 points)
-  Demolisher  ( 10  points)
-  Agent Kallus  ( 3  points)
-  Ordnance Experts  ( 4  points)
-  Engine Techs  ( 8  points)
-  Flechette Torpedoes  ( 3  points) 
Gozanti-class Cruisers (23 points)
-  Comms Net  ( 2  points) 
1 Tel Trevura ( 17 points)
1 Morna Kee ( 27 points)
3 VT-49 Decimators ( 66 points)
1 Dengar ( 20 points) 

My changes from the previous year involved going all-in on the Decimators for the benefit of their high resilience as well as adding Dengar and Tel Trevura to keep them going. I also changed up the objectives to provide a modicum of benefit against an SSD. I felt that Most Wanted was a weak choice for me in that match-up as well as against a Raddus fleet.

Game one was against Scott, who brought a TRC90 swarm with significant squadron support including VCXs. We tied for bid, rolled, he won the roll, and he chose second. I picked his Targeting Beacons, deployed centrally, moved some obstacles and the game was afoot. Here is the opening of round 1:


In the first round, I pushed forward, aiming to focus my ships on the left side while my Decimators occupied a central spot. Here is the opening of round 2:


In the second round, my ships played it conservatively while my Decimators softened the first CR90 to come in range. Here is the opening of round 3:


In round three, my Interdictor softened the lead CR90 on the left with HIEs and brought the lead CR90 on the right to a single hull remaining. Scott had to activate one of them. He chose the one on the left as it was threatened with Demo before it could get a shot. My Gozanti used a CF dial to get the requisite damage to kill the lead CR90 on the right. Demo did it’s thing and the Decimators killed the trailing CR90 on the right. This left a single damaged CR90 at the opening of round 4:


In round four, Demo activated first to finish the CR90 for the tabling. Tel Trevura was able to weather the squadrons and that concluded game one with a strong Imperial victory.

Game two was against Austin, who was fresh from his Prime victory in Georgia last month. I had the benefit of knowing his list and practicing against it ahead of time. He had the standard (he sort of set the standard as far as I know) JJ Ravager build with IO, Kallus, Brunson, H9s, QBCs, QLTs, etc. I had a solid plan for second player, but alas, he guessed this and gave me first. I took his Contested Outpost and positioned the Dictor and Demo to go around either side. Here is the opening of round 1:


With Austin’s activation advantage, I really had to play cautiously. I knew that neither of my ships could survive front arc medium range fire and I also knew that his flak would be really painful even against my Decimators, so I played it conservatively. So did he. Here is the opening of round 2:


In the second round, Austin continued to play it safe, even as I turned in aggressively with my Dictor and held the station with Demo. Here is the opening of round 3 without a single shot fired:


In the third round, I was still out of range with the Dictor. Demo drew first blood at long range and promptly exited weapons range. My Dictor was pursuing. My Decimators finally entered the fight. Here is the opening of round 4:


In the fourth round, I moved my Dictor in to start ramming the SSD. My Decimators did their thing. Austin whittled away at them. I didn’t have many obstacles to use for cover so they took a lot of damage and his single dice counter fire almost never missed. Here is the opening of round 5:


In the fifth round, the Dictor continued to double-ram and repair, kind of like a parasite really. Austin kept the SSD in place to prevent giving Demo any opportunity to contribute. Here is the opening of round 6:


In the sixth round, Austin activated his lead Gozanti, which allowed me to ram it to death with Demo before shooting the SSD at long range. I was able to get the SSD down to half points while Austin killed one of the Decimators (he rolled consistently well on the counter-Fire) as well as Tel Trevura. This gave me a 7-4 win. Good, but not great.

For game 3, I was paired against an Orlando regular, Tyler, who I had played before. I knew him to be a very competent Raddus player. Both of us understood that to win the tournament, we had to win this game big. He was running a Raddus list with a pair of Hammerheads, a pair of GR75s, and a fighter ball consisting of Dutch, Wedge, Lando, Dash, Gold, Biggs, and a YT1300. His hyperspace ship was an MC75 Ordnance type kitted out for serious brawling. I took first and selected Superior Positions. Here is the opening of round 1:


In the first round, I positioned Demo out front while keeping the Dictor in reserve. My Decimators were able to put some pressure on his obstructed YT1300. He was set up on the station and definitely had the early advantage in the squadron fight. Here is the opening of round 2:


In the second round, I pushed Demo up to Flechette-activate Dutch and some others. I hit the Hammerhead on the right flank with a DCap HIE shot to soften it up. Dengar freed three of my Decimators to finish off the same Hammerhead, denying the ideal Raddus drop. Interestingly, Morna managed to not roll a single hit, despite rerolls. Tel Trevura went down to the opposing squadrons without getting to use his ability. Here is the opening of round 3 after the Raddus drop:


In the third round, I activated Demo to double-flak the squadrons to keep some of them them out of the fight. The MC75 moved forward fast to block in my Dictor, getting a double-arc position in the process. My Dictor stripped most of his shields and my Decimators went to work, rolling exceedingly poorly once again. I missed the fourth round picture in all the excitement. In the fourth round, I tanked the MC75 shots and continued to wear it down. Demo went after the remaining hammerhead and my Decimators finished off the MC75. Here is the opening of round 5:


At the opening of round 5, I was able to activate Demo and hit the rear of Raddus’ fleeing remnant, sealing the victory for me. Funny note, it wasn’t until this point that I realized that I should have been collecting tokens for the rear shots. I totally forgot about the objective play. Tyler, meanwhile had collected a good number. Nevertheless, it was insufficient to prevent the 10-1 victory to me. Here are the final standings:


All in all, this was a great tournament with a good bunch of guys at a solid venue (Critical Hit Games). The next two in the standings were both JJ Ravager SSD lists. Travis was running an almost identical setup to Austin, who I faced for game 2. Maxwell dropped Gozantis for Bombers and Jonus. The SSD did extremely well in this tournament. I was glad I faced one and thrilled that I was able to pull it down to half hull, especially against someone who is as competent as Austin. It’s a tough matchup for my list. Great games Scott, Austin, and Tyler!

Thursday, November 21, 2019

Ackbar MC80 & MC75 vs Ackbar MC80 & CR90s

Ackbar v Ackbar death match right here! On my side, I’ve got an MC80, MC75, TRC90, and Comms Net flotilla. On the other side, Andy brought an MC80 or his own along with a pair of TRC90s, Comms Net flotilla, Shara/Tycho, A-Wing, and VCX. We both had 400 points, but Andy gave me second as he wanted to try going first with his fleet. He picked my Volatile Deposits and here is the deployment:


In the first round, I edged forward while he kept his distance. Here is the opening of round 2:


In the second round, I continued to move forward. I was hoping to use my MC75 to displace his MC80 and take control of that asteroid. Here is the opening of round 3:


In the third round, I blundered with my CR90 and jumped up to speed 4 to get into the rear arc of the MC80. I was playing it far too aggressively for second player. Andy put a bit of damage through. Here is the opening of round 4:


In the fourth round, Andy finished off my CR90 and we both continued to circle around each other, with his CR90s catching up to my MC80. Here is the opening of round 5:


In the fifth round, I managed to secure the other asteroid with my MC75, but Andy was also able to win one with his CR90. Here is the opening of round 6:


In the sixth round, Andy was able to ram-kill my flotilla and secure both asteroids on my side while I retained control of the asteroid on his. Thanks to my amassed tokens, I managed to win with a mere 2 MOV. This may have been our closest game yet! I misplayed the MC80 by moving it up to speed 2 unnecessarily. Had it maintained speed 1 the entire game, I could have better protected my flotilla while maintaining control of the asteroid in turn 5. My CR90 was poorly played. I should have kept it well back in order to preserve it for the activation if nothing else. Good close game.