In this game, I brought Screed on Insidious with ET, OE, APT, Tua, and ECM; Demo with ET, OE, Kallus, and Flechettes; Corvus with Brunson, DCaps, and HIE; and a Decimator ball with Mauler and Dengar. On the other side, Andy brought Ackbar on Defiance, a pair TRC90s with Intel Officers and FCTs, a Comms Net flotilla, Shara/Tycho, and a pair of VCXs.
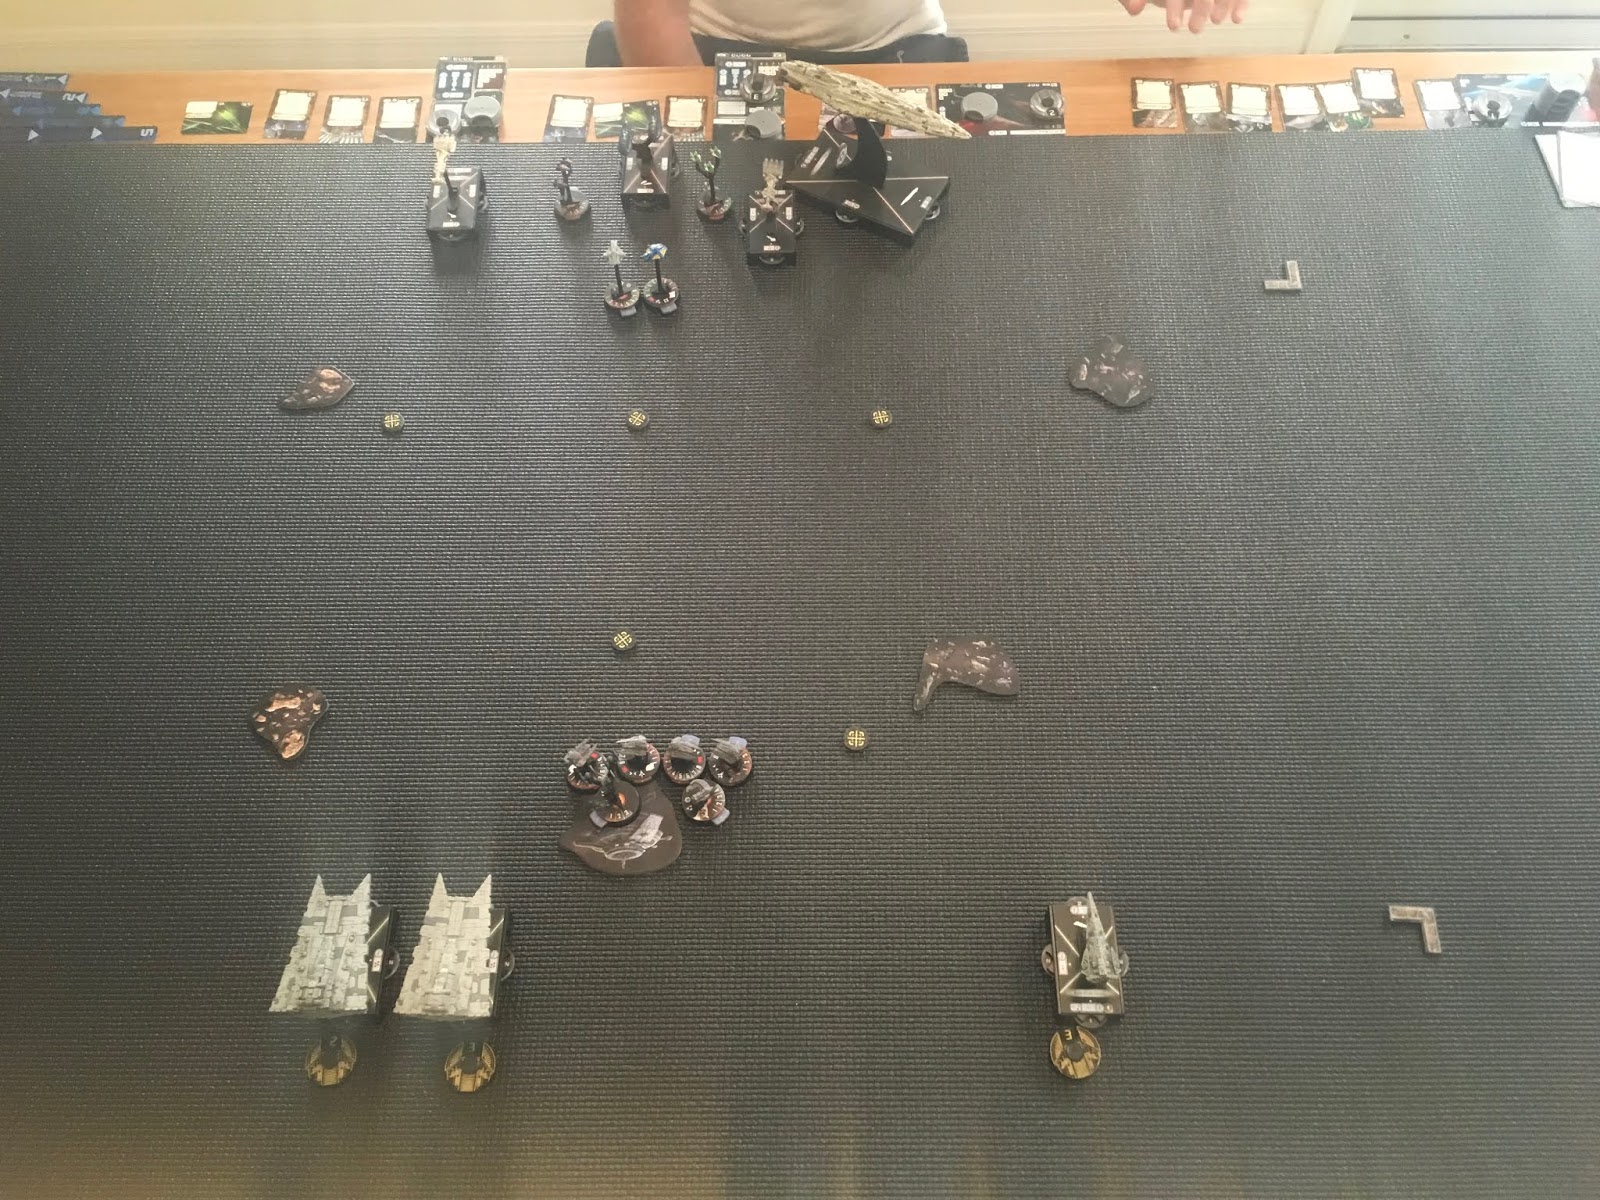
Andy had the bid and took second in order to play his objectives. I picked Intel Sweep. Andy’s objective ship is the far left CR90. On my side, I placed Corvus first in the center in order to drop the Decimators there. I then placed my Gladiators with Insidious as my objective ship on the outside and Demo on the inside. I was hoping to fight on the left side, but Andy placed his flagship on the right, forcing me to do some repositioning. Corvus was able to redeploy more favorably afterwards. Here is the opening of round 1:
In the first round, I gathered tokens and set Demo up for a turn 2 pounce on Andy’s objective ship. Insidious turned to move toward the MC80, but I sort of blocked myself inwith Demo and ended up moving more conservatively than I otherwise would have. I managed to position Morna and a Decimator within striking range of that objective ship. Here is the opening of round 2:

In the second round, I activated Demo first and had the requisite squadron command lined up. I sent a Decimator and Morna to soften things up and then followed it up with a Demo shot. This left the CR90 on a single hull and almost no shields. I just barely missed taking it out. Another Decimator shot in the squadron phase took care of that. My Raider started to soften up Defiance, which surprisingly turned inward for the Ackbar slash attempt. Here is the opening of round 3:

In the third round, I started activated the Raider first to prevent the Ackbar slash and give Andy a tough choice on who to shoot. This let me use Heavy Ions a second time to strip more shields. I brought Insidious in closer to pick up a second objective token. The MC80 was able to ram Insidious, go back, ram Corvus, and then end up in the same starting position. This put it just out of close range of Insidious. Mauler and Demo did work against the opposing squadron ball. Morna and a Decimator began to reposition, and my other two Decimators laid into the MC80, which was going down fast thanks to the HIE softening. Here is the opening of round 4:

In the fourth round, I managed to get Demo and Corvus out of danger and get Insidious into close range of the MC80. Because the 80 was very close to dead, I had the squadron game pretty well wrapped up — despite losing Dengar, and Insidious was ready to hit the MC80 and move away, we called it at that. It was a rough match for Andy. It was a tie on the objective tokens and I killed or would have killed enough of Andy’s fleet to score at least a 9-2. The Corvus title proved absolutely phenomenal in this match. It really enabled me to wear Defiance down with the Heavy Ions backed with Decimators. Insidious did little in the match, functioning as a heavy threat and finisher. Demo was essential in knocking out the CR90 objective ship early and then using Flechettes to keep Tycho out of action for two rounds. I’m relatively happy with this fleet composition, but the Corvus title really makes it sting in my opinion. I’ve struggled with Raider IIs in the past, and my opinion of them his dramatically improved with this new inclusion.
No comments:
Post a Comment
Note: Only a member of this blog may post a comment.